A guide to deploy a custom Docker image for a Gradio app with AI Deploy.
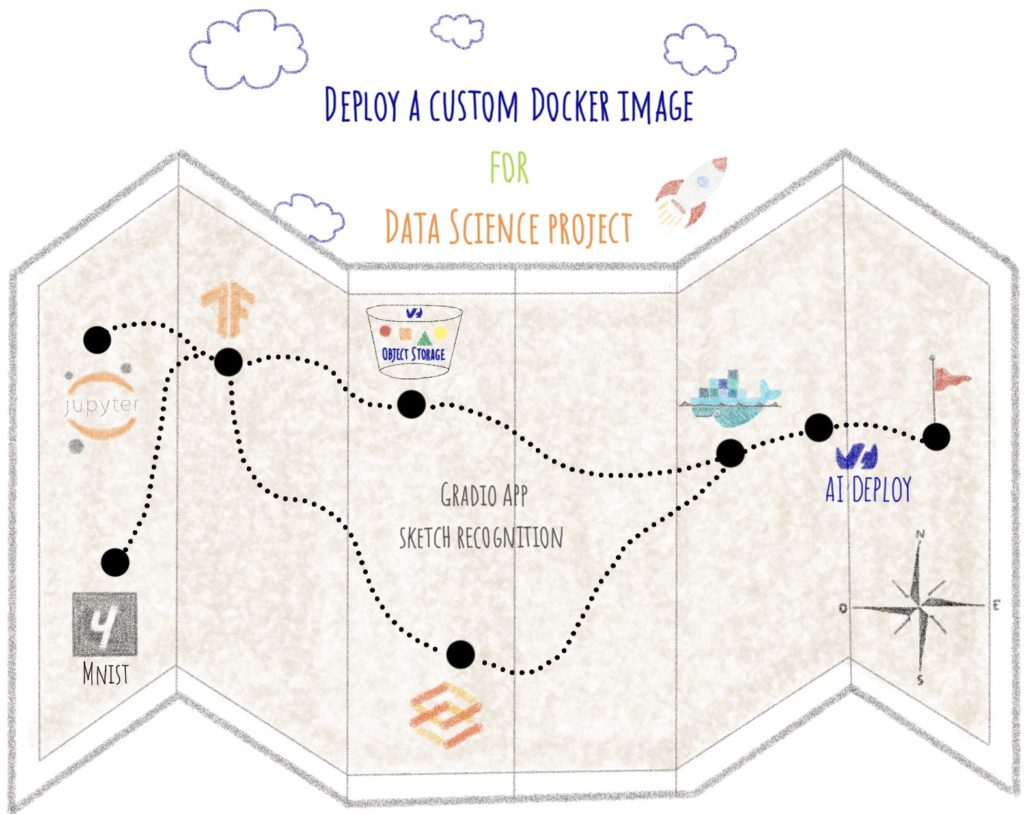
When creating code for a Data Science project, you probably want it to be as portable as possible. In other words, it can be run as many times as you like, even on different machines.
Unfortunately, it is often the case that a Data Science code works fine locally on a machine but gives errors during runtime. It can be due to different versions of libraries installed on the host machine.
To deal with this problem, you can use Docker.
The article is organized as follows:
- Objectives
- Concepts
- Build the Gradio app with Python
- Containerize your app with Docker
- Launch the app with AI Deploy
All the code for this blogpost is available in our dedicated GitHub repository. You can test it with OVHcloud AI Deploy tool, please refer to the documentation to boot it up.
Objectives
In this article, you will learn how to develop your first Gradio sketch recognition app based on an existing ML model.
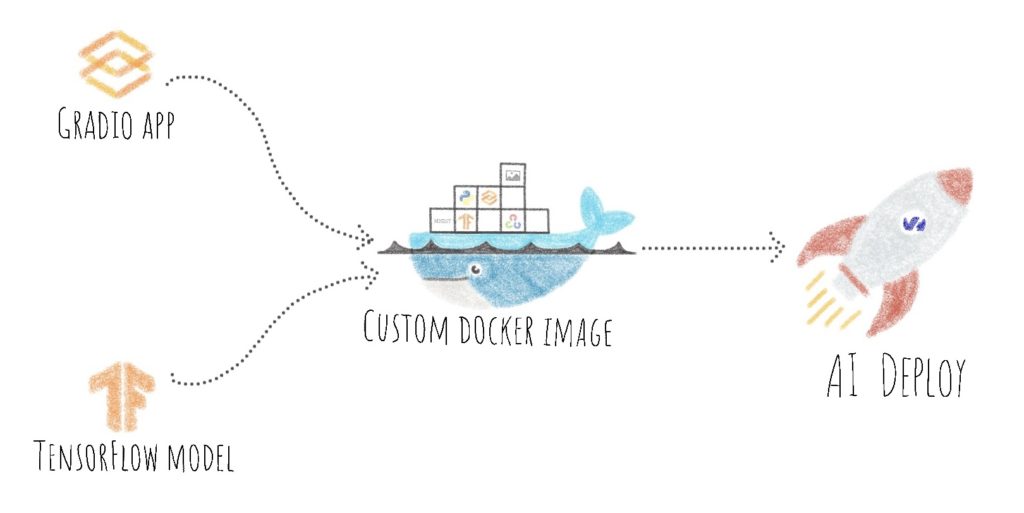
Once your app is up and running locally, it will be a matter of containerizing it, then deploying the custom Docker image with AI Deploy.
Concepts
In Artificial Intelligence, you probably hear about Computer Vision, but do you know what it is?
Computer Vision is a branch of AI that aims to enable computers to interpret visual data (images for example) to extract information.
There are different tasks in computer vision:
- Image classification
- Object detection
- Instance Segmentation
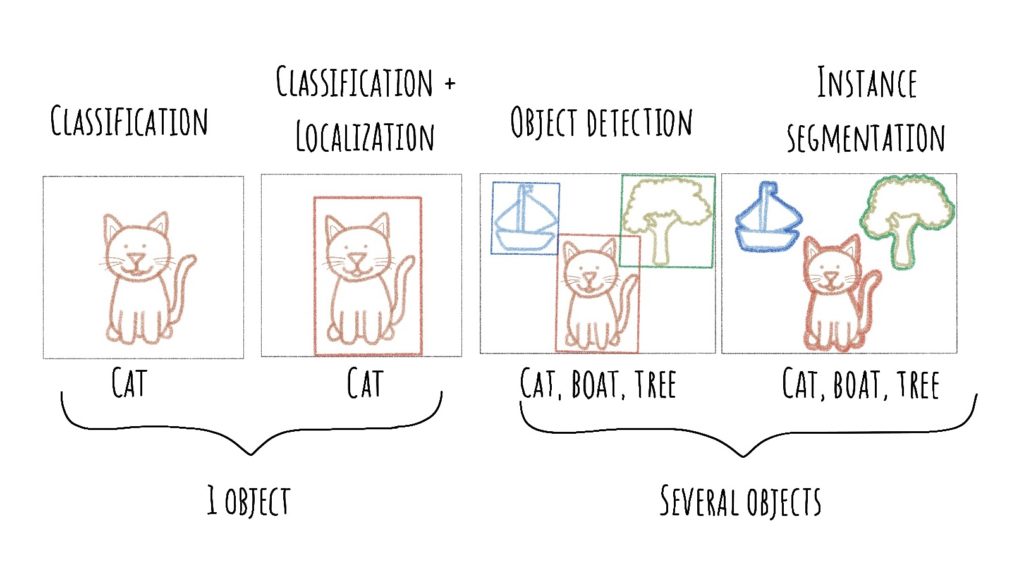
Today we are interested in image recognition and more specifically in sketch recognition using a dataset of handwritten digits.
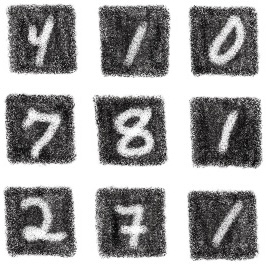
MNIST dataset
MNIST is a dataset developed by Yann LeCun, Corinna Cortes and Christopher Burges to evaluate Machine Learning models for handwritten digits classification.
The dataset was constructed from a number of digitized document datasets available from the National Institute of Standards and Technology (NIST).
The images of numbers are digitized, normalized and centered. This allows the developer to focus on machine learning with very little data cleaning.
Each image is a square of 28 by 28 pixels. The dataset is split in two with 60,000 images for model training and 10,000 images for testing it.
This is a digit recognition task to recognize 10 digits, from 0 to 9.
❗A model to classify images of handwritten figures was trained in a previous tutorial, in notebook form, which you can find and test here.
This model is registered in an OVHcloud Object Storage container.
Sketch recognition
Have you ever heard of sketch recognition in AI?
Sketch recognition is the automated recognition of hand-drawn diagrams by a computer. Research in sketch recognition lies at the crossroads of artificial intelligence and human–computer interaction. Recognition algorithms usually are gesture-based, appearance-based, geometry-based, or a combination thereof.
Wikipedia

In this article, Gradio will allow you to create your first sketch recognition app.
Gradio
What is Gradio?
Gradio allows you to create and share Machine Learning apps.
It’s a quick way to demonstrate your Machine Learning model with a user-friendly web interface so that anyone can use it.
Gradio offers the ability to quickly create a sketch recognition interface by specifying “sketchpad” as an entry.

To make this app accessible, you need to containerize it using Docker.
Docker
Docker platform allows you to build, run and manage isolated applications. The principle is to build an application that contains not only the written code but also all the context to run the code: libraries and their versions for example
When you wrap your application with all its context, you build a Docker image, which can be saved in your local repository or in the Docker Hub.
To get started with Docker, please, check this documentation.
To build a Docker image, you will define 2 elements:
- the application code (Grapio sketch recognition app)
- the Dockerfile
In the next steps, you will see how to develop the Python code for your app, but also how to write the Dockerfile.
Finally, you will see how to deploy your custom docker image with OVHcloud AI Deploy tool.
AI Deploy
AI Deploy enables AI models and managed applications to be started via Docker containers.
To know more about AI Deploy, please refer to this documentation.
Build the Gradio app with Python
Import Python dependencies
The first step is to import the Python libraries needed to run the Gradio app.
- Gradio
- TensorFlow
- OpenCV
import gradio as gr
import tensorflow as tf
import cv2
Define fixed elements of the app
With Gradio, it is possible to add a title to your app to give information on its purpose.
title = "Welcome on your first sketch recognition app!"
Then, you can be describe your app by adding an image and a “description“.
To display and centre an image or text, an HTML tag is ideal 💡!
head = (
  "<center>"
  "<img src='file/mnist-classes.png' width=400>"
  "The robot was trained to classify numbers (from 0 to 9). To test it, write your number in the space provided."
  "</center>"
)
It is also possible to share a useful link (source code, documentation, …). You can do it with the Gradio attribute named “article“.
ref = "Find the whole code [here](https://github.com/ovh/ai-training-examples/tree/main/apps/gradio/sketch-recognition)."
For this application, you have to set some variables.
- The images size
The image size is set to 28. Indeed, the model input expects to have a 28×28 image.
- The classes list
The classes list is composed of ten strings corresponding to the numbers 0 to 9 written in full.
img_size = 28
labels = ["zero", "one", "two", "three", "four", "five", "six", "seven", "eight", "nine"]
Once the image size has been set and the list of classes defined, the next step is to load the AI model.
Load TensorFlow model
This is a TensorFlow model saved and exported beforehand in model.h5 format.
Indeed, Keras provides a basic saving format using the HDF5 standard.
Hierarchical Data Format (HDF) is a set of file formats (HDF4, HDF5) designed to store and organize large amounts of data.
Wikipedia
In a previous notebook, you have exported the model in an OVHcloud Object Storage container. If you want to test the notebook, please refer to the GitHub repository.
model.save('model/sketch_recognition_numbers_model.h5')
To load this model again and use it for inference, without having to re-train it, you have to use the load_model function from Keras.
model = tf.keras.models.load_model("model/sketch_recognition_numbers_model.h5")After defining the different parameters and loading the model, you can define the function that will predict what you have drawn.
Define the prediction function
This function consists of several steps.
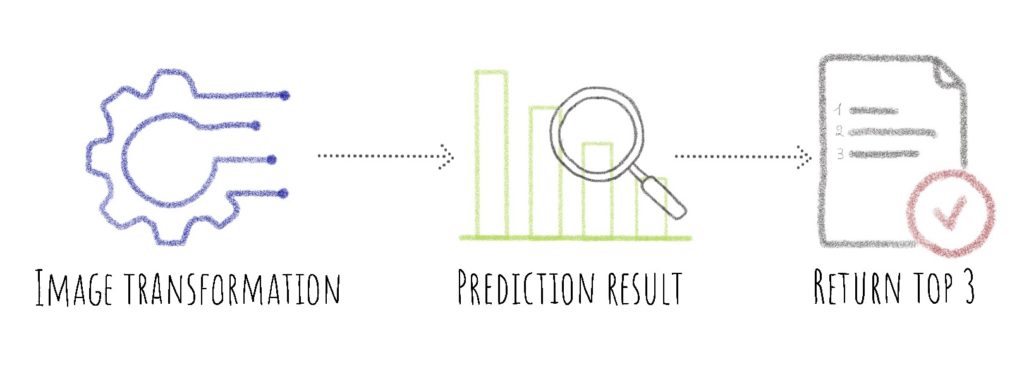
def predict(img):

  img = cv2.resize(img, (img_size, img_size))
  img = img.reshape(1, img_size, img_size, 1)

  preds = model.predict(img)[0]

  return {label: float(pred) for label, pred in zip(labels, preds)}


label = gr.outputs.Label(num_top_classes=3)
Launch Gradio interface
Now you need to build the interface using a Python class, named Interface, previously defined by Gradio.
The Interface class is a high-level abstraction that allows you to create a web-based demo around a machine learning model or arbitrary Python function by specifying:
Gradio
(1) the function
(2) the desired input components
(3) desired output components.
interface = gr.Interface(fn=predict, inputs="sketchpad", outputs=label, title=title, description=head, article=ref)Finally, you have to launch the Gradio app with “launch” method. It launches a simple web server that serves the demo.
interface.launch(server_name="0.0.0.0", server_port=8080)Then, you can test your app locally at the following address: http://localhost:8080/
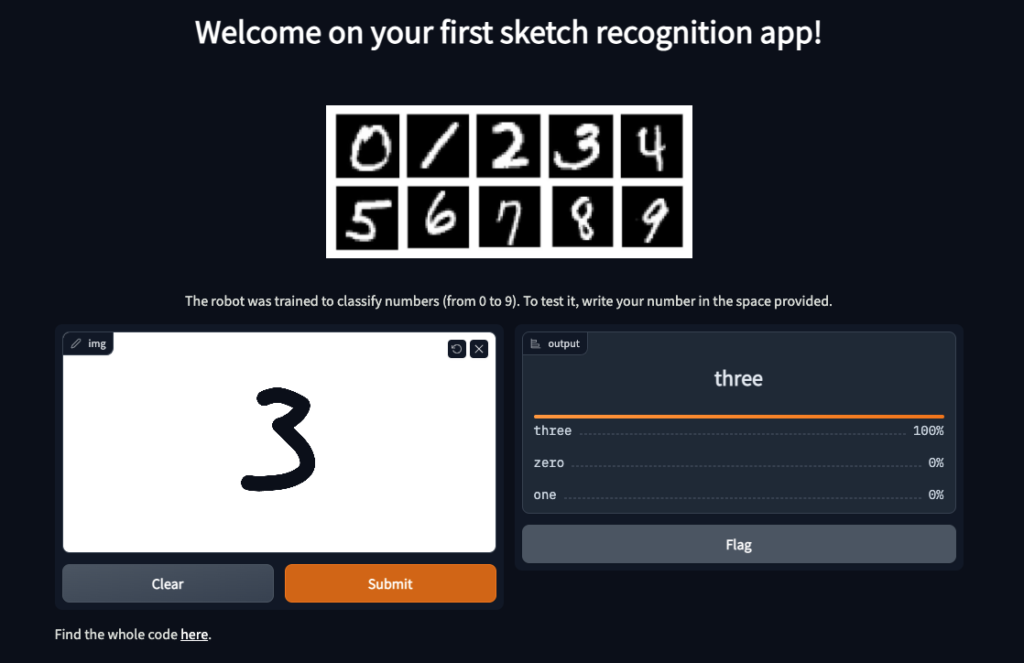
Your app works locally? Congratulations 🎉!
Now it’s time to move on to containerization!
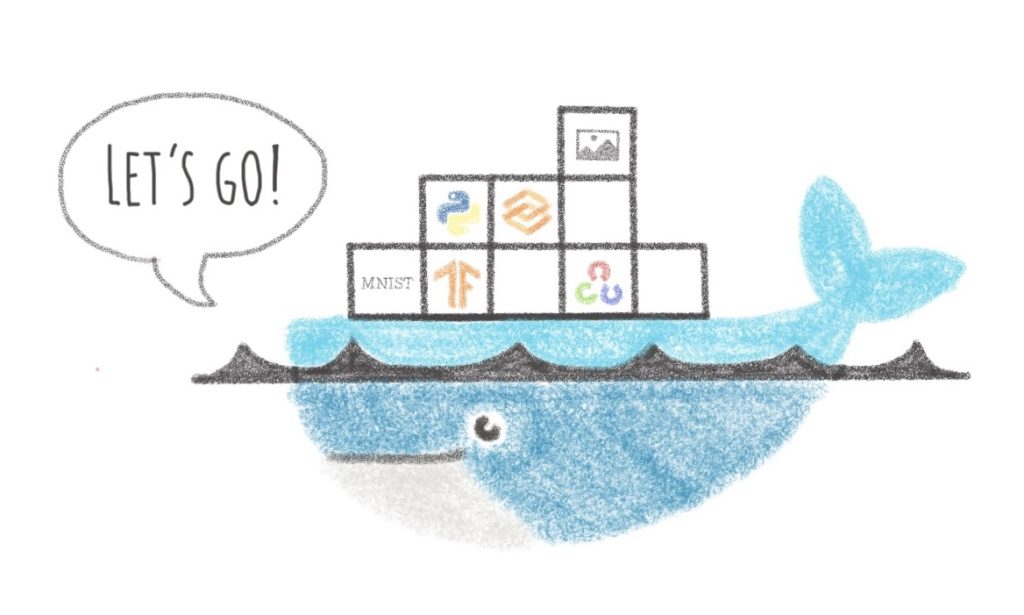
Containerize your app with Docker
First of all, you have to build the file that will contain the different Python modules to be installed with their corresponding version.
Create the requirements.txt file
The requirements.txt file will allow us to write all the modules needed to make our application work.
gradio==3.0.10
tensorflow==2.9.1
opencv-python-headless==4.6.0.66
This file will be useful when writing the Dockerfile.
Write the Dockerfile
Your Dockerfile should start with the the FROM instruction indicating the parent image to use. In our case we choose to start from a classic Python image.
For this Gradio app, you can use version 3.7 of Python.
FROM python:3.7Next, you have to to fill in the working directory and add the requirements.txt file.
❗ Here you must be in the /workspace directory. This is the basic directory for launching an OVHcloud AI Deploy.
WORKDIR /workspace
ADD requirements.txt /workspace/requirements.txt
Install the requirements.txt file which contains your needed Python modules using a pip install… command:
RUN pip install -r requirements.txtNow, you have to add your Python file, as well as the image present in the description of your app, in the workspace.
ADD app.py mnist-classes.png /workspace/Then, you can give correct access rights to OVHcloud user (42420:42420).
RUN chown -R 42420:42420 /workspace
ENV HOME=/workspace
Finally, you have to define your default launching command to start the application.
CMD [ "python3" , "/workspace/app.py" ]Once your Dockerfile is defined, you will be able to build your custom docker image.
Build the Docker image from the Dockerfile
First, you can launch the following command from the Dockerfile directory to build your application image.
docker build . -t gradio_app:latest⚠️ The dot . argument indicates that your build context (place of the Dockerfile and other needed files) is the current directory.
⚠️ The -t argument allows you to choose the identifier to give to your image. Usually image identifiers are composed of a name and a version tag <name>:<version>. For this example we chose gradio_app:latest.
Test it locally
❗ If you are testing your app locally, you can download your model (sketch_recognition_numbers_model.h5), then add it to the /workspace
You can do it via the Dockerfile with the following line:
ADD sketch_recognition_numbers_model.h5 /workspace/
Now, you can run the following Docker command to launch your application locally on your computer.
docker run --rm -it -p 8080:8080 --user=42420:42420 gradio_app:latest⚠️ The -p 8080:8080 argument indicates that you want to execute a port redirection from the port 8080 of your local machine into the port 8080 of the Docker container.
⚠️ Don't forget the --user=42420:42420 argument if you want to simulate the exact same behaviour that will occur on AI Deploy. It executes the Docker container as the specific OVHcloud user (user 42420:42420).
Once started, your application should be available on http://localhost:8080.
Your Docker image seems to work? Good job 👍!
It’s time to push it and deploy it!
Push the image into the shared registry
❗ The shared registry of AI Deploy should only be used for testing purpose. Please consider attaching your own Docker registry. More information about this can be found here.
Then, you have to find the address of your shared registry by launching this command.
ovhai registry listNext, log in on the shared registry with your usual OpenStack credentials.
docker login -u <user> -p <password> <shared-registry-address>To finish, you need to push the created image into the shared registry.
docker tag gradio_app:latest <shared-registry-address>/gradio_app:latest
docker push <shared-registry-address>/gradio_app:latest
Once you have pushed your custom docker image into the shared registry, you are ready to launch your app 🚀!
Launch the AI Deploy
The following command starts a new job running your Gradio application.
ovhai app run \
      --cpu 1 \
      --volume <my_saved_model>@<region>/:/workspace/model:RO \
      <shared-registry-address>/gradio_app:latest
Choose the compute resources
First, you can either choose the number of GPUs or CPUs for your app.
--cpu 1 indicates that we request 1 CPU for that app.
If you want, you can also launch this app with one or more GPUs.
Attach Object Storage container
Then, you need to attach 1 volume to this app. It contains the model that you trained before in part “Save and export the model for future inference” of the notebook.
--volume <my_saved_model>@<region>/:/workspace/saved_model:RO is the volume attached for using your pretrained model.
This volume is read-only (RO) because you just need to use the model and not make any changes to this Object Storage container.
Make the app public
Finally, if you want your app to be accessible without the need to authenticate, specify it as follows.
Consider adding the --unsecure-http attribute if you want your application to be reachable without any authentication.
Conclusion
Well done 🎉! You have learned how to build your own Docker image for a dedicated sketch recognition app!
You have also been able to deploy this app thanks to OVHcloud’s AI Deploy tool.
In a second article, you will see how it is possible to deploy a Data Science project for interactive data visualization and prediction.
Want to find out more?
Notebook
You want to access the notebook? Refer to the GitHub repository.
To launch and test this notebook with AI Notebooks, please refer to our documentation.
App
You want to access to the full code to create the Gradio app? Refer to the GitHub repository.
To launch and test this app with AI Deploy, please refer to our documentation.
References
Solution Architect @OVHcloud

