
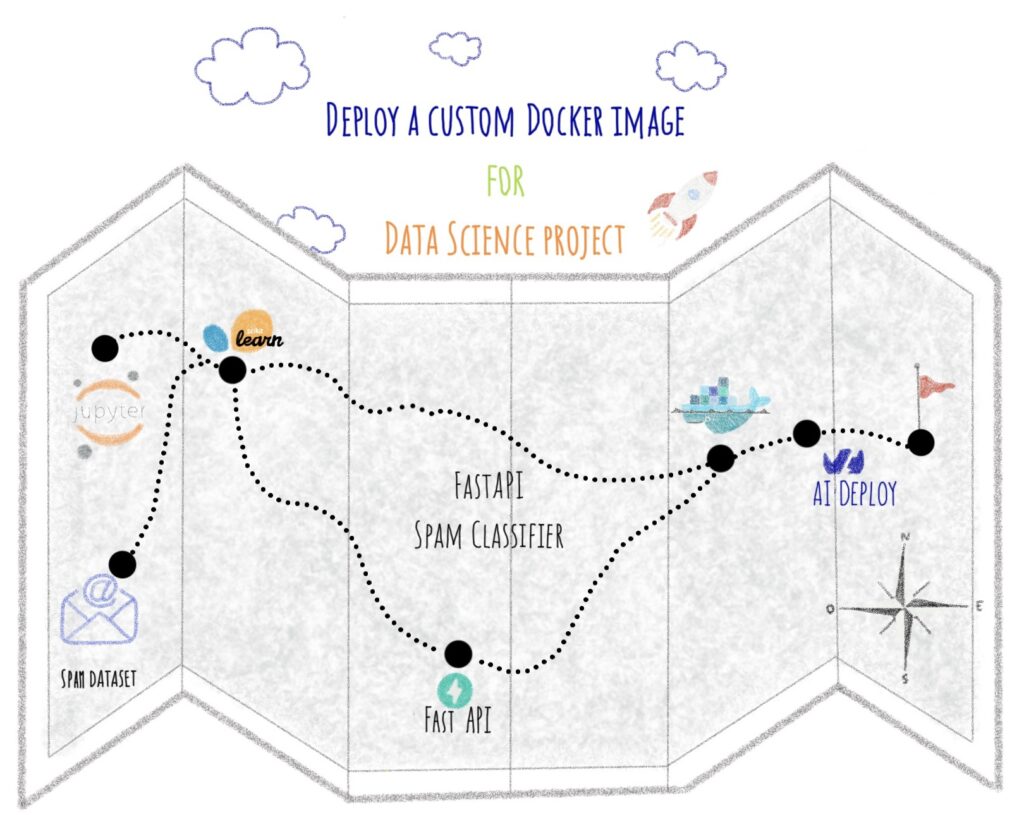
A guide to deploy a custom Docker image for an API with FastAPI and AI Deploy.
Welcome to the third article concerning custom Docker image deployment. If you haven’t read the previous ones, you can check it:
– Gradio sketch recognition app
– Streamlit app for EDA and interactive prediction
When creating code for a Data Science project, you probably want it to be as portable as possible. In other words, it can be run as many times as you like, even on different machines.
Unfortunately, it is often the case that a Data Science code works fine locally on a machine but gives errors during runtime. It can be due to different versions of libraries installed on the host machine.
To deal with this problem, you can use Docker.
The article is organized as follows:
- Objectives
- Concepts
- Define a model for spam classification
- Build the FastAPI app with Python
- Containerize your app with Docker
- Launch the app with AI Deploy
All the code for this blogpost is available in our dedicated GitHub repository. You can test it with OVHcloud AI Deploy tool, please refer to the documentation to boot it up.
Objectives
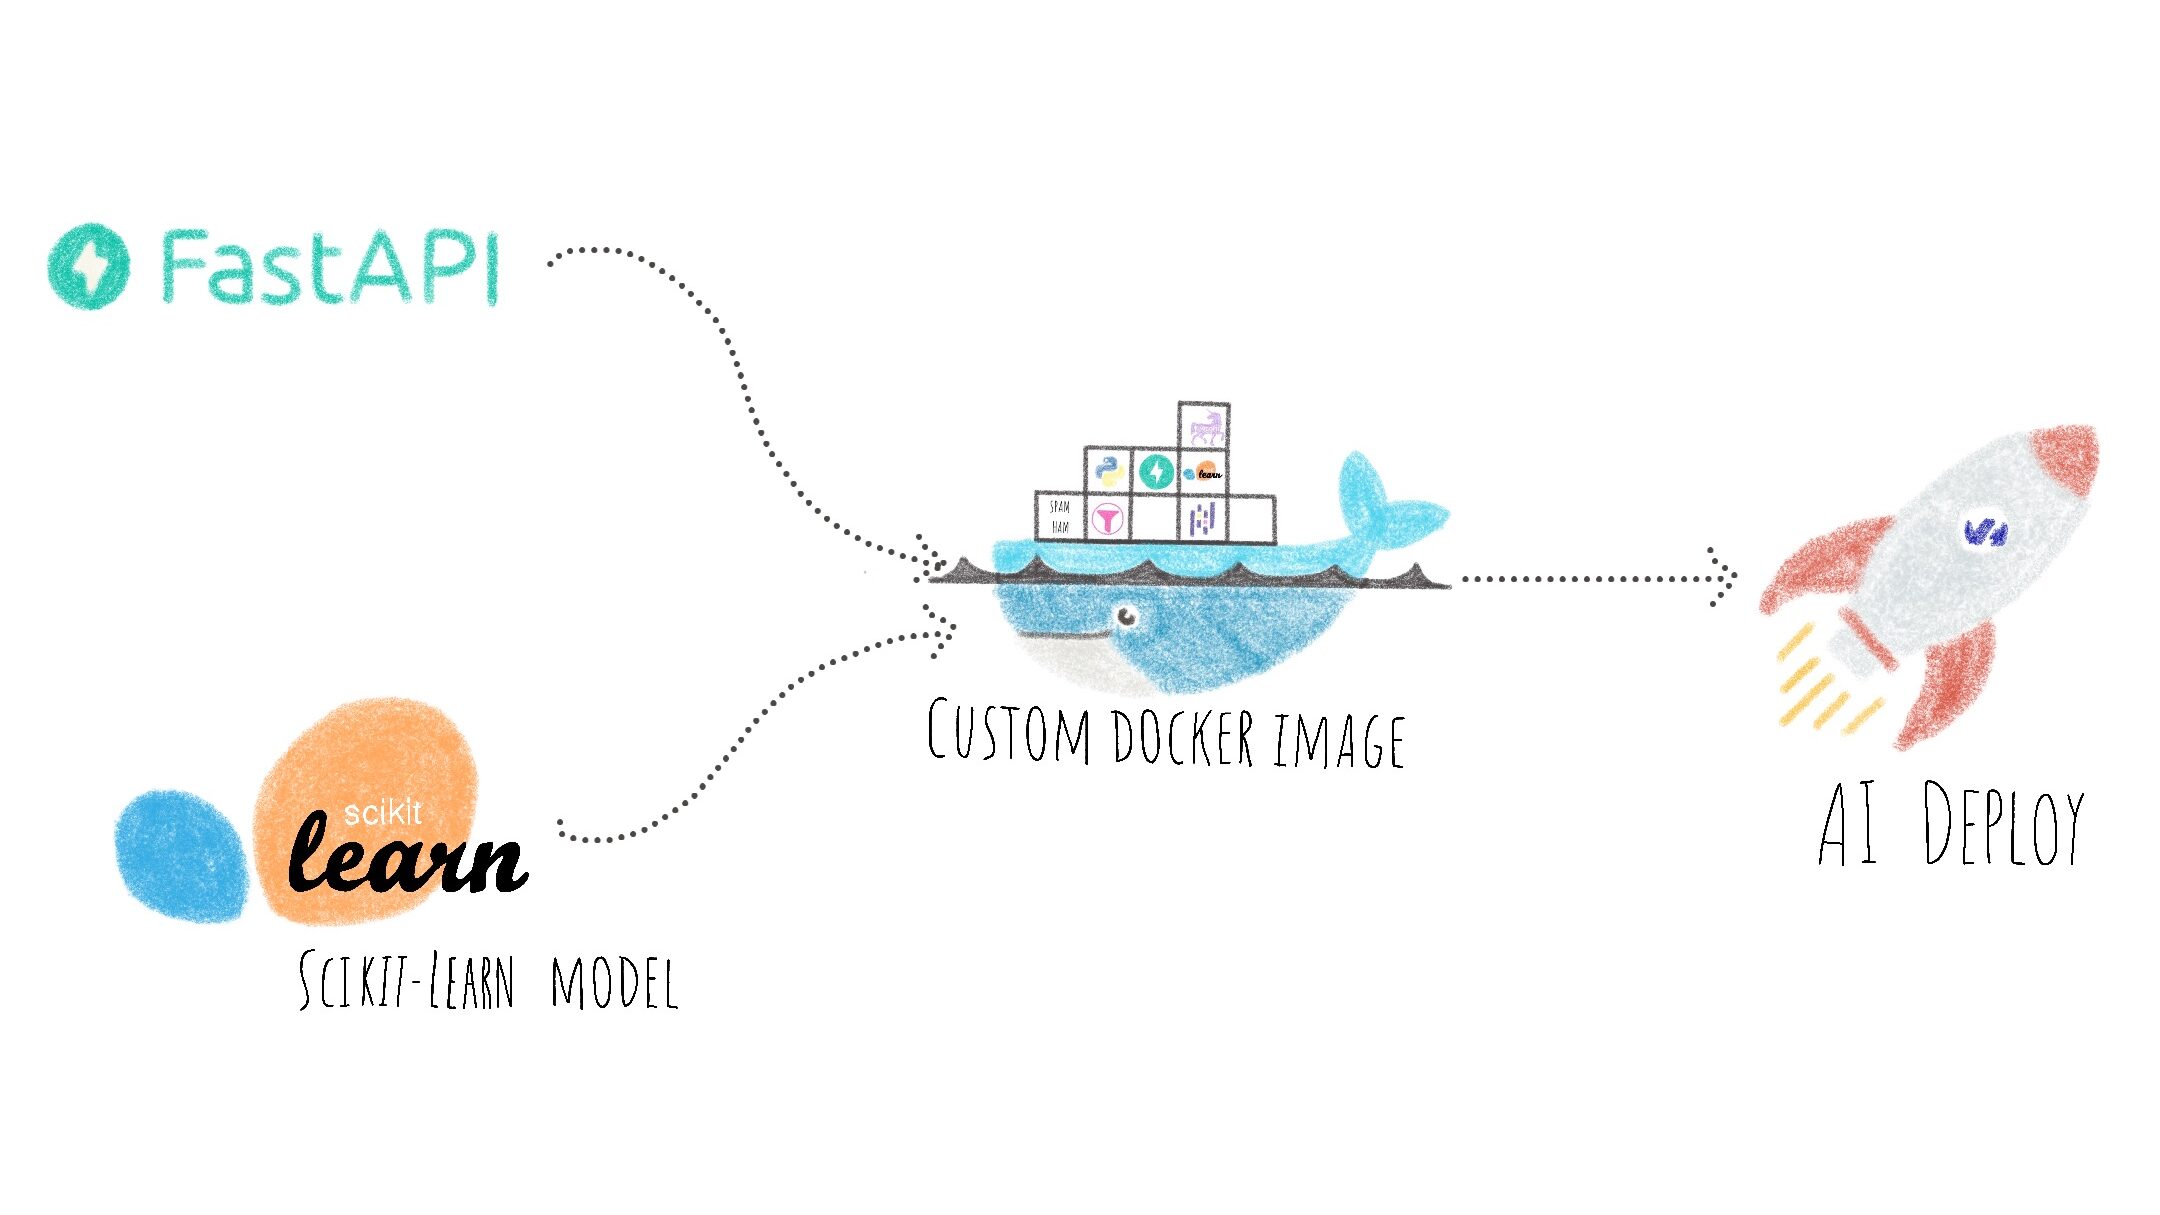
In this article, you will learn how to develop FastAPI API for spam classification.
Once your app is up and running locally, it will be a matter of containerizing it, then deploying the custom Docker image with AI Deploy.
Concepts
In Artificial Intelligence, you have probably heard of Natural Language Processing (NLP). NLP gathers several tasks related to language processing such as text classification.
This technique is ideal for distinguishing spam from other messages.
Spam Ham Collection Dataset
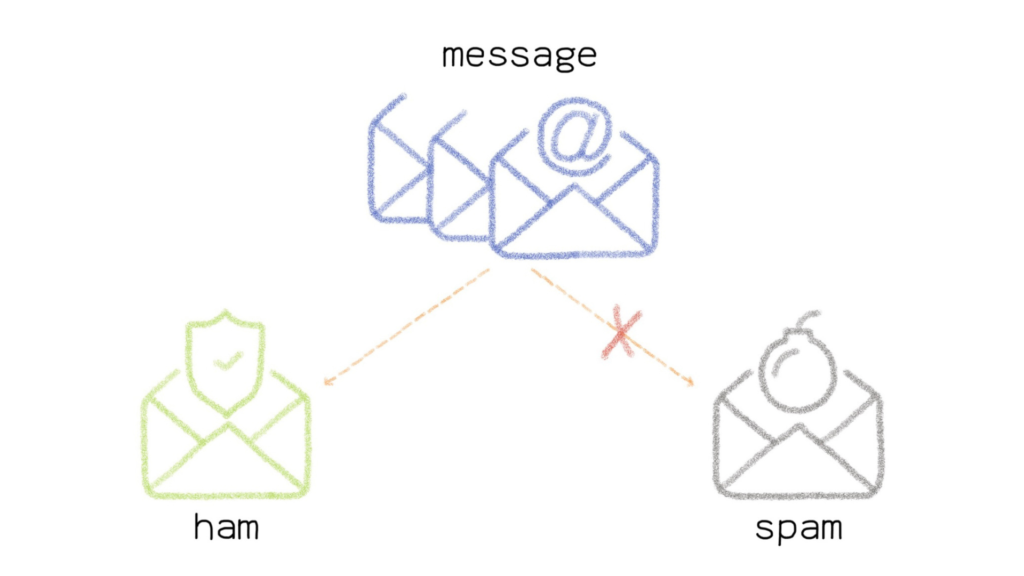
The SMS Spam Collection is a public set of SMS labeled messages that have been collected for mobile phone spam research.
The dataset contains 5,574 messages in English. The SMS are tagged as follow:
- HAM if the message is legitimate
- SPAM if it is not
The collection is a text file, where each line has the correct class followed by the raw message.
Logistic regression
What is a Logistic Regression?
Logistic regression is a statistical model. It allows to study the relationships between a set of i qualitative variables (Xi) and a qualitative variable (Y).
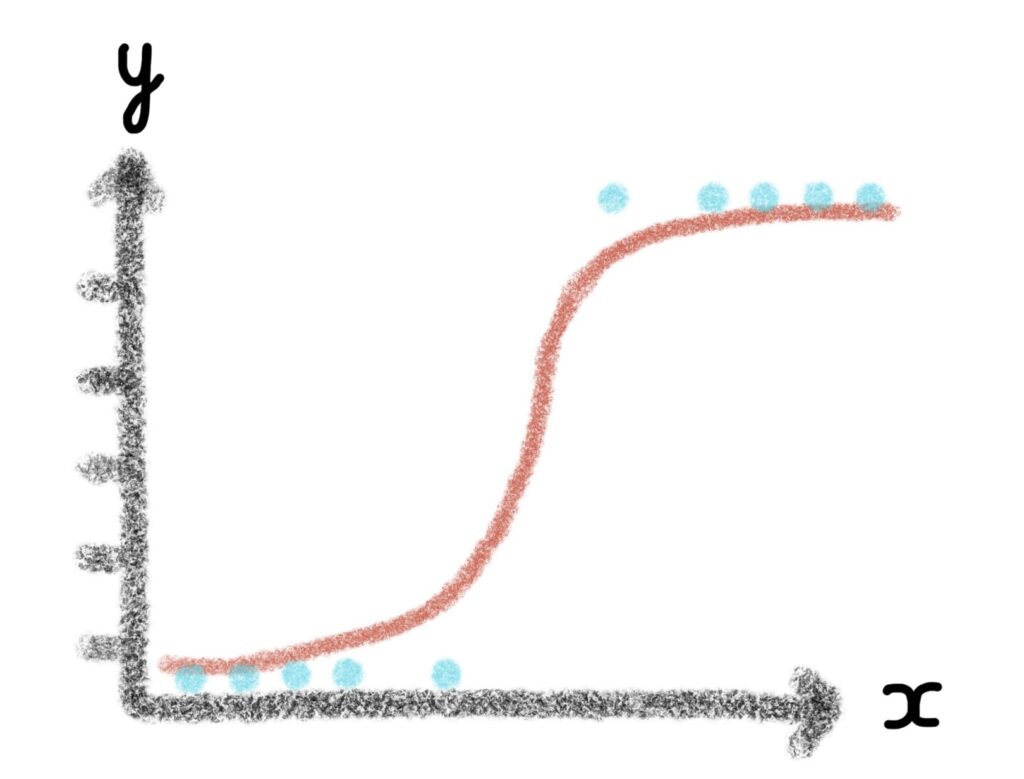
It is a generalized linear model using a logistic function as a link function.
A logistic regression model can also predict the probability of an event occurring (value close to 1) or not (value close to 0) from the optimization of the regression coefficients. This result always varies between 0 and 1.
For the spam classification use case, words are inputs and class (spam or ham) is output.
FastAPI
What is FastAPI?
FastAPI is a web framework for building RESTful APIs with Python.
FastAPI is based on Pydantic and type guidance to validate, serialize and deserialize data, and automatically generate OpenAPI documents.
Docker
Docker platform allows you to build, run and manage isolated applications. The principle is to build an application that contains not only the written code but also all the context to run the code: libraries and their versions for example
When you wrap your application with all its context, you build a Docker image, which can be saved in your local repository or in the Docker Hub.
To get started with Docker, please, check this documentation.
To build a Docker image, you will define 2 elements:
- the application code (FastAPI app)
- the Dockerfile
In the next steps, you will see how to develop the Python code for your app, but also how to write the Dockerfile.
Finally, you will see how to deploy your custom docker image with OVHcloud AI Deploy tool.
AI Deploy
AI Deploy enables AI models and managed applications to be started via Docker containers.
To know more about AI Deploy, please refer to this documentation.
Define a model for spam classification
❗ To develop an API that uses a Machine Learning model, you have to load the model in the correct format. For this tutorial, a Logistic Regression is used and the Python file model.py is used to define it.To better understand the model.py code, refer to the notebook which details all the steps.
First of all, you have to import the Python libraries needed to create the Logistic Regression in the model.py file.
import pandas as pd
import numpy as np
from sklearn import model_selection
from sklearn.feature_extraction.text import CountVectorizer
from sklearn.linear_model import LogisticRegression
Now, you can create the Logistic Regression based on the Spam Ham Collection Dataset. The Python framework named Scikit-Learn is used to define this model.
Firstly, you can load the dataset and transform your input file into a dataframe.
You will also be able to define the input and the output of the model.
def load_data():

    PATH = 'SMSSpamCollection'
    df = pd.read_csv(PATH, delimiter = "\t", names=["classe", "message"])

    X = df['message']
    y = df['classe']

    return X, y
In a second step, you split the data in a training and a test set.
To separate the dataset fairly and to have a test_size between 0 and 1, you can calculate ntest as follows.
def split_data(X, y):

    ntest = 2000/(3572+2000)

    X_train, X_test, y_train, y_test = model_selection.train_test_split(X, y, test_size=ntest, random_state=0)

    return X_train, y_train
Now you can concentrate on creating the Machine Learning model. To do this, create a spam_classifier_model function.
To fully understand the code, refer to Steps 6 to 9 of this notebook. In these steps you will learn how to:
- create the model using Logistic Regression
- evaluate on the test set
- do dimension reduction with stop words and term frequency
- do dimension reduction to post-processing of the model
def spam_classifier_model(Xtrain, ytrain):

    model_logistic_regression = LogisticRegression()
    model_logistic_regression = model_logistic_regression.fit(Xtrain, ytrain)

    coeff = model_logistic_regression.coef_
    coef_abs = np.abs(coeff)

    quantiles = np.quantile(coef_abs,[0, 0.25, 0.5, 0.75, 0.9, 1])

    index = np.where(coeff[0] > quantiles[1])
    newXtrain = Xtrain[:, index[0]]

    model_logistic_regression = LogisticRegression()
    model_logistic_regression.fit(newXtrain, ytrain)

    return model_logistic_regression, index
Once these Python functions are defined, you can call and apply them as follows.
Firstly, extract input and output data with load_data():
data_input, data_output = load_data()Secondly, split the data using the split_data(data_input, data_output):
X_train, ytrain = split_data(data_input, data_output)❗ Here, there is no need to use the test set. Indeed, the evaluation of the final model has already been done in Step 9 - Dimensionality reduction: post processing of the model of the notebook.
Thirdly, transform and fit training set. In order to prepare the data, you can use CountVectorizer from Scikit-Learn to remove stop-words and then fit_transform to fit the inputs.
vectorizer = CountVectorizer(stop_words='english', binary=True, min_df=10)
Xtrain = vectorizer.fit_transform(X_train.tolist())
Xtrain = Xtrain.toarray()
Fourthly, use the model and index for prediction by calling spam_classifier_model function.
model_logistic_regression, index = spam_classifier_model(Xtrain, ytrain)Find out the full Python code here.
Have you successfully defined your model? Good job 🥳 !
Let’s go for the creation of the API!
Build the FastAPI app with Python
❗ All the codes below are available in the app.py file. You can find the complete Python code of the app.py file here.
To begin, you can import dependencies for FastAPI app.
- uvicorn
- fastapi
- pydantic
import uvicorn
from fastapi import FastAPI
from pydantic import BaseModel
from model import model_logistic_regression, index, vectorizer
In the first place, you can initialize an instance of FastAPI.
app = FastAPI()Next, you can define the data format by creating the Python class named request_body. Here, the string (str) format is required.
class request_body(BaseModel):
    message : str
Now, you can create the process function in order to prepare the sent message to be used by the model.
def process_message(message):

    desc = vectorizer.transform(message)
    dense_desc = desc.toarray()
    dense_select = dense_desc[:, index[0]]

    return dense_select
At the exit of this function the message does not contain any more stop words, it is put in the right format for the model thanks to the transform and is then represented as an array.
Now that the function for processing the input data is defined, you can pass the GET and POST methods.
First, let’s go for the GET method!
@app.get('/')
def root():
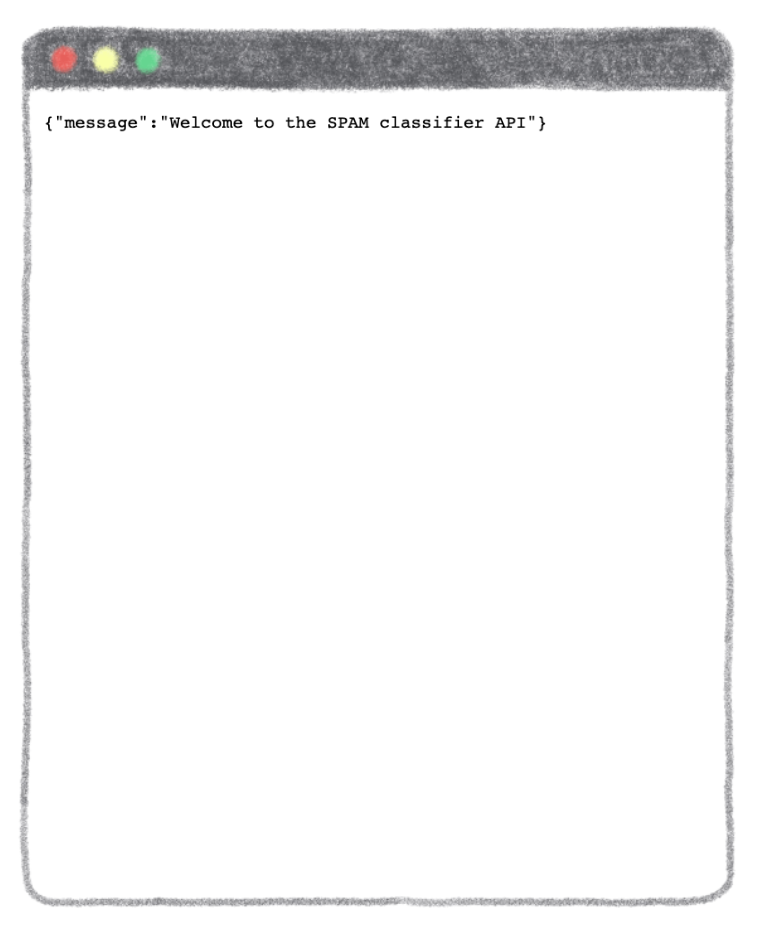
return {'message': 'Welcome to the SPAM classifier API'}Here you can see the welcome message when you arrive on your API.
{"message":"Welcome to the SPAM classifier API"}Now it’s the turn of the POST method. In this part of the code, you will be able to:
- define the message format
- check if a message has been sent or not
- process the message to fit with the model
- extract the probabilities
- return the results
@app.post('/spam_detection_path')
def classify_message(data : request_body):

    message = [
        data.message
    ]

    if (not (message)):
        raise HTTPException(status_code=400, detail="Please Provide a valid text message")

    dense_select = process_message(message)

    label = model_logistic_regression.predict(dense_select)
    proba = model_logistic_regression.predict_proba(dense_select)

    if label[0]=='ham':
        label_proba = proba[0][0]
    else:
        label_proba = proba[0][1]

    return {'label': label[0], 'label_probability': label_proba}
❗ Again, you can find the full code here.
Before deploying your API, you can test it locally using the following command:
uvicorn app:app --reloadThen, you can test your app locally at the following address: http://localhost:8000/
You will arrive on the following page:
How to interact with your API?
You can add /docs at the end of the url of your app: http://localhost:8000/docs
A new page opens to you. It provides a complete dashboard for interacting with the API!
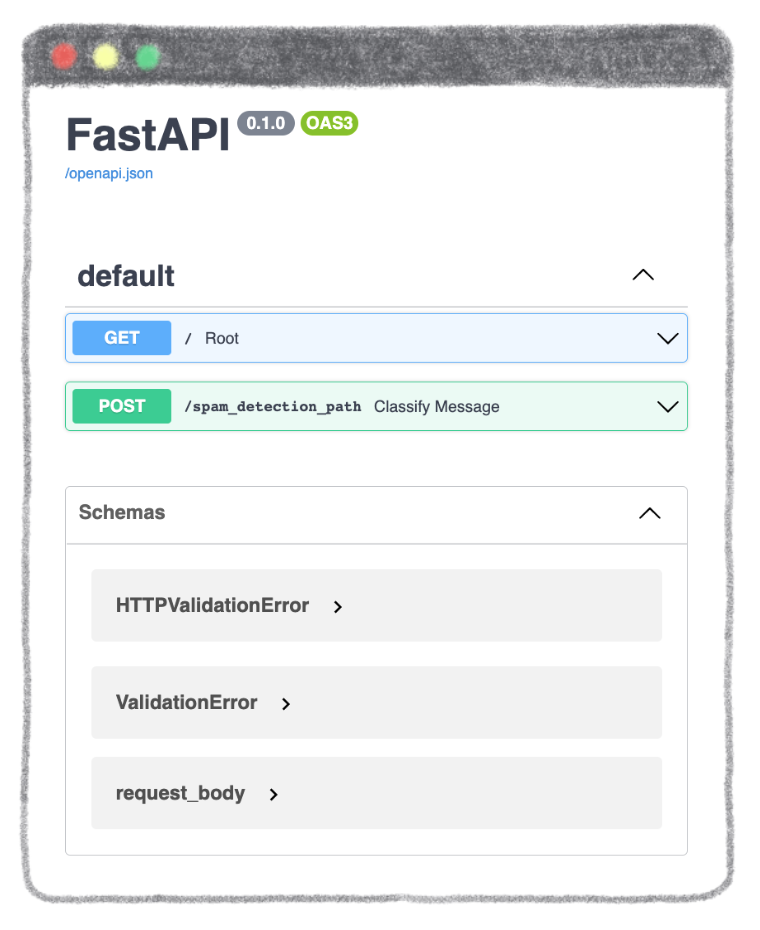
To be able to send a message for classification, select /spam_detection_path in the green box. Click on Try it out and type the message of your choice in the dedicated zone.
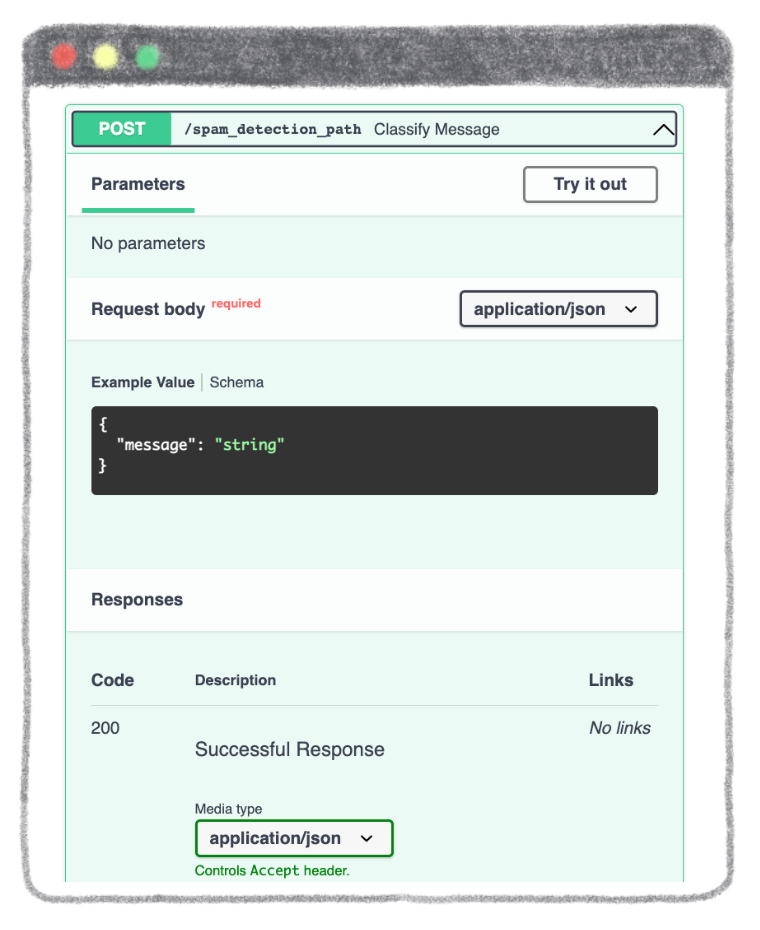
Enter the message of your choice. It must be in the form of a string.
Example: "A new free service for you only"
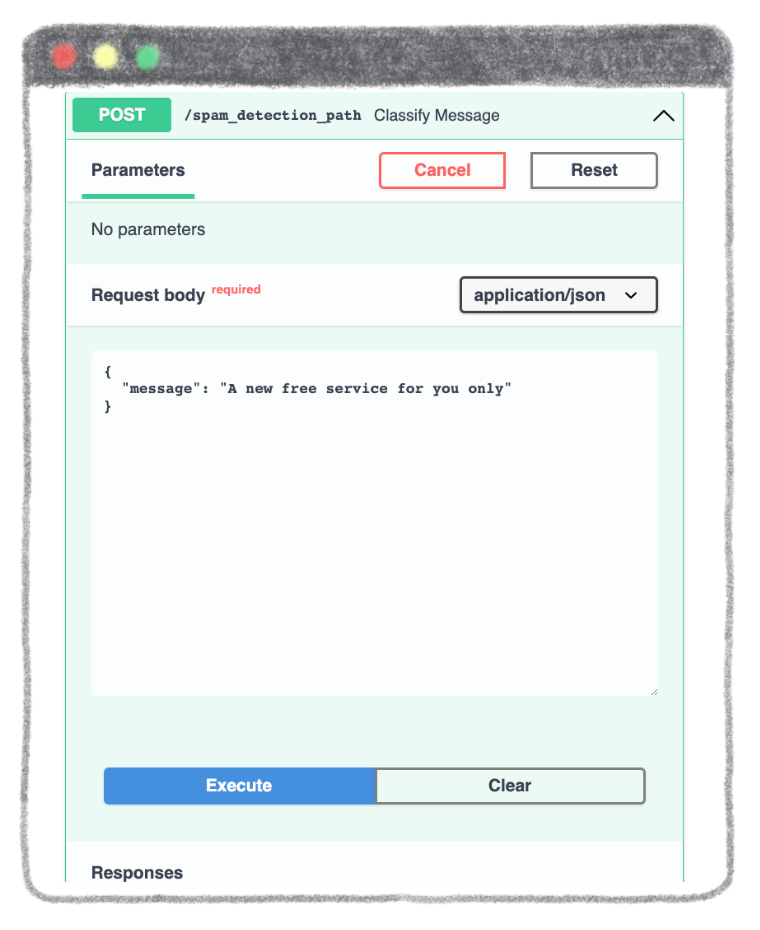
To get the result of the prediction, click on the Execute button.
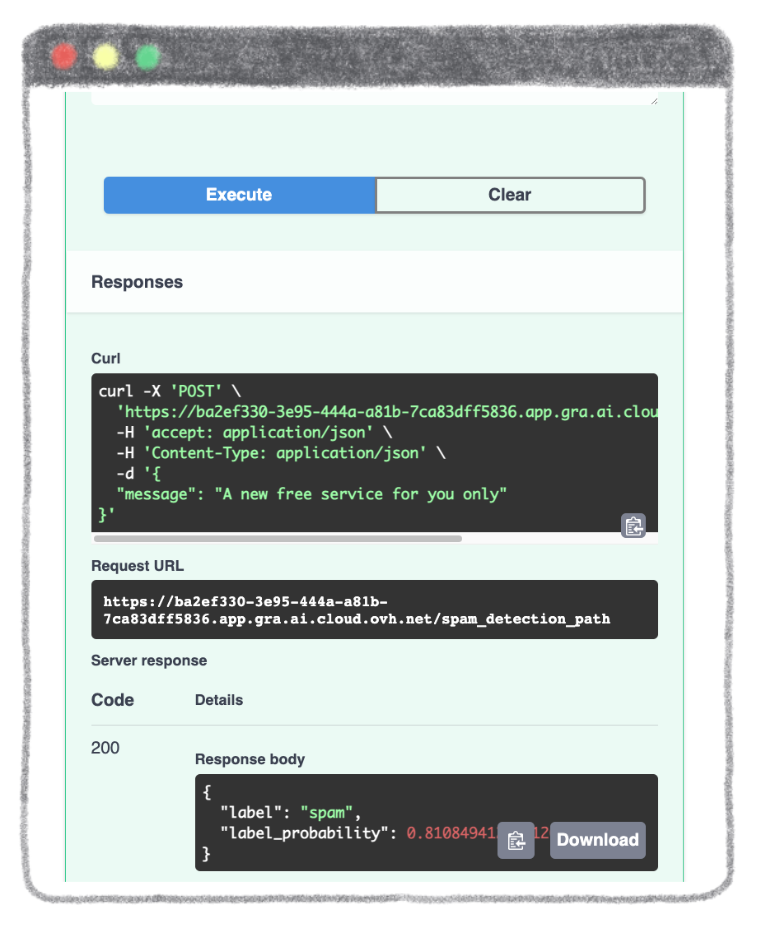
Finally, you obtain the result of the prediction with the label and the confidence score.
Your app works locally? Congratulations 🎉 !
Now it’s time to move on to containerization!
Containerize your app with Docker
First of all, you have to build the file that will contain the different Python modules to be installed with their corresponding version.
Create the requirements.txt file
The requirements.txt file will allow us to write all the modules needed to make our application work.
fastapi==0.87.0
pydantic==1.10.2
uvicorn==0.20.0
pandas==1.5.1
scikit-learn==1.1.3
This file will be useful when writing the Dockerfile.
Write the Dockerfile
Your Dockerfile should start with the the FROM instruction indicating the parent image to use. In our case we choose to start from a classic Python image.
For this Streamlit app, you can use version 3.8 of Python.
FROM python:3.8Next, you have to to fill in the working directory and add all files into.
❗ Here you must be in the /workspace directory. This is the basic directory for launching an OVHcloud AI Deploy.
WORKDIR /workspace
ADD . /workspace
Install the requirements.txt file which contains your needed Python modules using a pip install… command.
RUN pip install -r requirements.txtSet the listening port of the container. For FastAPI, you can use the port 8000.
EXPOSE 8000Then, you have to define the entrypoint and the default launching command to start the application.
ENTRYPOINT ["uvicorn"]
CMD [ "streamlit", "run", "/workspace/app.py", "--server.address=0.0.0.0" ]
Finally, you can give correct access rights to OVHcloud user (42420:42420).
RUN chown -R 42420:42420 /workspace
ENV HOME=/workspace
Once your Dockerfile is defined, you will be able to build your custom docker image.
Build the Docker image from the Dockerfile
First, you can launch the following command from the Dockerfile directory to build your application image.
docker build . -t fastapi-spam-classification:latest⚠️ The dot . argument indicates that your build context (place of the Dockerfile and other needed files) is the current directory.
⚠️ The -t argument allows you to choose the identifier to give to your image. Usually image identifiers are composed of a name and a version tag <name>:<version>. For this example we chose fastapi-spam-classification:latest.
Test it locally
Now, you can run the following Docker command to launch your application locally on your computer.
docker run --rm -it -p 8080:8080 --user=42420:42420 fastapi-spam-classification:latest⚠️ The -p 8000:8000 argument indicates that you want to execute a port redirection from the port 8000 of your local machine into the port 8000 of the Docker container.
⚠️ Don't forget the --user=42420:42420 argument if you want to simulate the exact same behaviour that will occur on AI Deploy. It executes the Docker container as the specific OVHcloud user (user 42420:42420).
Once started, your application should be available on http://localhost:8000.
Your Docker image seems to work? Good job 👍 !
It’s time to push it and deploy it!
Push the image into the shared registry
❗ The shared registry of AI Deploy should only be used for testing purpose. Please consider attaching your own Docker registry. More information about this can be found here.
Then, you have to find the address of your shared registry by launching this command.
ovhai registry listNext, log in on the shared registry with your usual OpenStack credentials.
docker login -u <user> -p <password> <shared-registry-address>To finish, you need to push the created image into the shared registry.
docker tag fastapi-spam-classification:latest <shared-registry-address>/fastapi-spam-classification:latestdocker push <shared-registry-address>/fastapi-spam-classification:latestOnce you have pushed your custom Docker image into the shared registry, you are ready to launch your app 🚀 !
Launch the AI Deploy app
The following command starts a new job running your FastAPI application.
ovhai app run \
      --default-http-port 8000 \
      --cpu 4 \
      <shared-registry-address>/fastapi-spam-classification:latest
Choose the compute resources
First, you can either choose the number of GPUs or CPUs for your app.
--cpu 4 indicates that we request 4 CPUs for that app.
Make the app public
Finally, if you want your app to be accessible without the need to authenticate, specify it as follows.
Consider adding the --unsecure-http attribute if you want your application to be reachable without any authentication.
Conclusion
Well done 🎉 ! You have learned how to build your own Docker image for a dedicated spam classification API!
You have also been able to deploy this app thanks to OVHcloud’s AI Deploy tool.
Want to find out more?
Notebook
You want to access the notebook? Refer to the GitHub repository.
App
You want to access to the full code to create the FastAPI API? Refer to the GitHub repository.
To launch and test this app with AI Deploy, please refer to our documentation.
References
- How to Run a Data Science Project in a Docker Container
- Step-by-step Approach to Build Your Machine Learning API Using Fast API

Solution Architect @OVHcloud