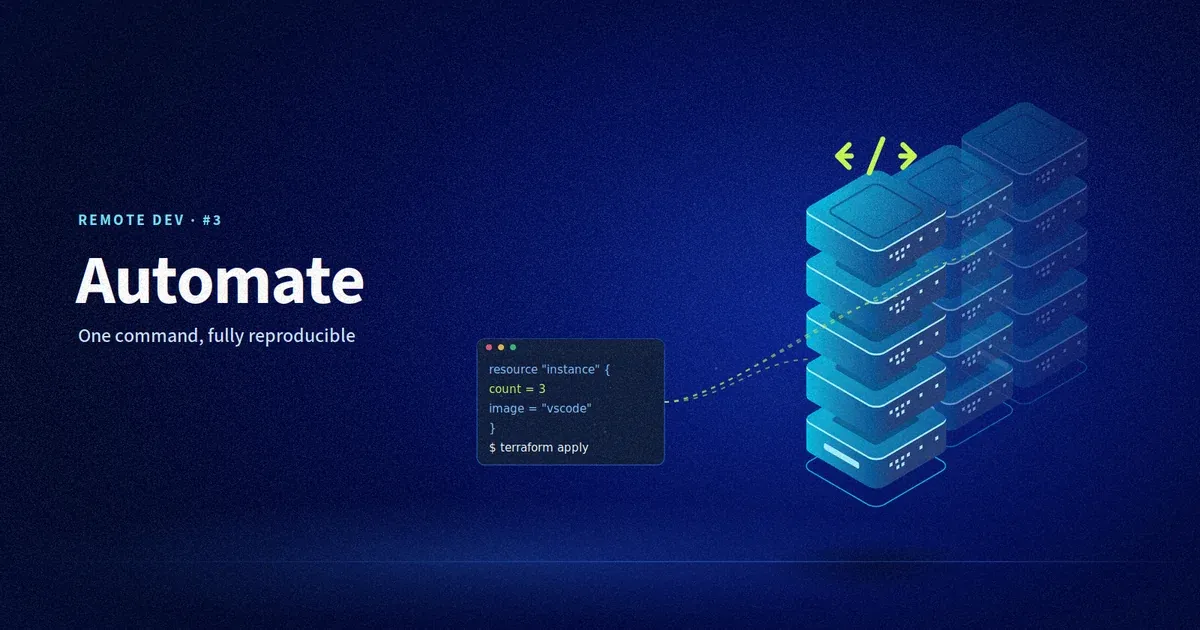
After manually configuring your server step by step, it’s time to automate the entire process.The idea is simple: describe your infrastructure in configuration files and let Terraform
take care of managing the resources at OVHcloud.Here is an introductory guide to Terraform, with plenty of useful information: https://support.us.ovhcloud.com/hc/en-us/articles/22648864003219-Using-Terraform-with-OVHcloud
.As well as the link to OVHcloud’s official Terraform provider: https://registry.terraform.io/providers/ovh/ovh/latest
There are two steps to automating the deployment:Deployment of the Public Cloud instance
Deployment of the application part (vscode-server) and its configuration
- 1. The heart of the automation: the Cloud-init script
- Before we move onto Terraform, we need to understand how the server self-configures during its initialisation.
To do this, use
cloud-init
, a standard that allows scripts to be executed from the first boot of the instance.What you will automate in this script:The system update (
apt update/upgrade
- )
The installation ofcode-server - via the official script
The installation and configuration ofCaddy - (for automatic SSL)The configuration of the Uncomplicated Firewall (UFW
- )This type of file has a very particular syntax; the cloud-config.yaml will be available further down.However, the important point to remember is: why use this format?
Idempotence:
- cloud-init ensures that everything is ready from the first boot.
Security from the outset:the - UFW is activated immediately, reducing the exposure window.
Terraform Integration:a single line is required to include this: - user_data = file("cloud-config.yaml")2. Using Terraform for deployment
Terraform allows for a much easier and quicker instance startup.
Its configuration also has several advantages:
Persistent data:
a
- terraform destroy of the instance can retain the data volume (goal set in chapter 2)
Scalability:if the project grows, the size of the volume and/or the flavour can be adjusted - Portability: the data volume can be unmounted and remounted on another machine.
- To keep this post brief we won’t copy-paste the code here, but this link to a GitHub repository contains everything needed to deploy this in a few minutes:https://github.com/RemyAtOVH/blogpost-dev-server
Its usage:
https://github.com/RemyAtOVH/blogpost-dev-server
Son utilisation :
| col0 |
|---|
| ubuntu@vscode-server:~$ source openrc.production.sh ubuntu@vscode-server:~$ terraform init ubuntu@vscode-server:~$ terraform plan ubuntu@vscode-server:~$ terraform apply […] Apply complete! Resources: 4 added, 0 changed, 0 destroyed. Outputs:instance_ip = "XXX.XXX.XXX.XXX" |
Before applying cloud-init (or without it), there is a secondary volume /dev/sdb, sized according to Terraform specifications:
| col0 |
|---|
| ubuntu@vscode-server-automated:~$ lsblk NAME MAJ:MIN RM SIZE RO TYPE MOUNTPOINTS [...] sda 8:0 0 25G 0 disk [...] sdb 8:16 0 10G 0 disk |
This is what will ensure data persistence.
You could manually delete the instance and other components, without deleting it.
To prevent any deletion in the event of “terraform destroy”, a parameter has been added:
| col0 |
|---|
| lifecycle { prevent_destroy = true } |
During the first startup, the various installation scripts may take time. You can check their steps with a simple tail:tail :
| col0 |
|---|
| ubuntu@vscode-server-automated:/var/log$ tail — f /var/log/cloud-init-output.log |
Once cloud-init has been executed automatically, everything that could have been set up manually in the previous chapters has been done automatically, in a way that can be reproduced!
It will therefore be possible to deploy this customised remote development environment if needed (with a few minutes of execution) and potentially delete it after a few hours or days of use.
In this series of chapters, we have transformed a simple idea – having access to VS Code wherever you are – into a professional-grade, automated and resilient infrastructure.
Below are the steps involved and the progress so far.
- Chapter 1: first steps in manual installation to understand the mechanics of
code-server. - Chapter 2: making it secure, using a Reverse Proxy (Caddy) and a firewall (UFW) to navigate smoothly in HTTPS.
- Chapter 3: this article, in which we’ll use Terraform and OpenStack for better reproducibility.
The automation we have implemented with an OVHcloud deployment using an OpenStack-based Public Cloud provides a solid foundation.
From here, you can go even further: add automatic backups of your volumes (snapshotting), couple this with a CI/CD pipeline, or even explore deploying this environment via docker-compose or even Kubernetes.
A step-by-step video version of these blog posts will soon be available on our YouTube channel. Stay tuned!chaîne YouTube. Restez à l’écoute !