Manage your secrets using OVHcloud Secret Manager with External Secrets Operator (ESO) on OVHcloud Managed Kubernetes Service (MKS)

Secrets resources in Kubernetes help us keep sensitive information like logins, passwords, tokens, credentials and certificates secure. But just a heads up: Secrets in Kubernetes are base64 encoded, not encrypted so anyone can read and decode them if they know how.
The good news is that OVHcloud has just launched the Secret Manager Beta, which you can use within your Kubernetes clusters via the External Secrets Operator (ESO) 🎉.
External Secrets Operator
The External Secrets Operator (ESO) extends Kubernetes with Custom Resource Definitions (CRDs) ) that define where secrets are and how to sync them.
The controller retrieves secrets from an external API and creates Kubernetes Secrets. If the secret changes in the external API, the controller updates the secret in the Kubernetes cluster.
Basically, the ESO can connect to an external Secret Manager like OVHcloud, Vault, AWS, or GCP using a (Cluster)SecretStore, and an ExternalSecret to figure out which Secret it needs to fetch. It then creates a Secret in the Kubernetes cluster with the fetched secret’s value.
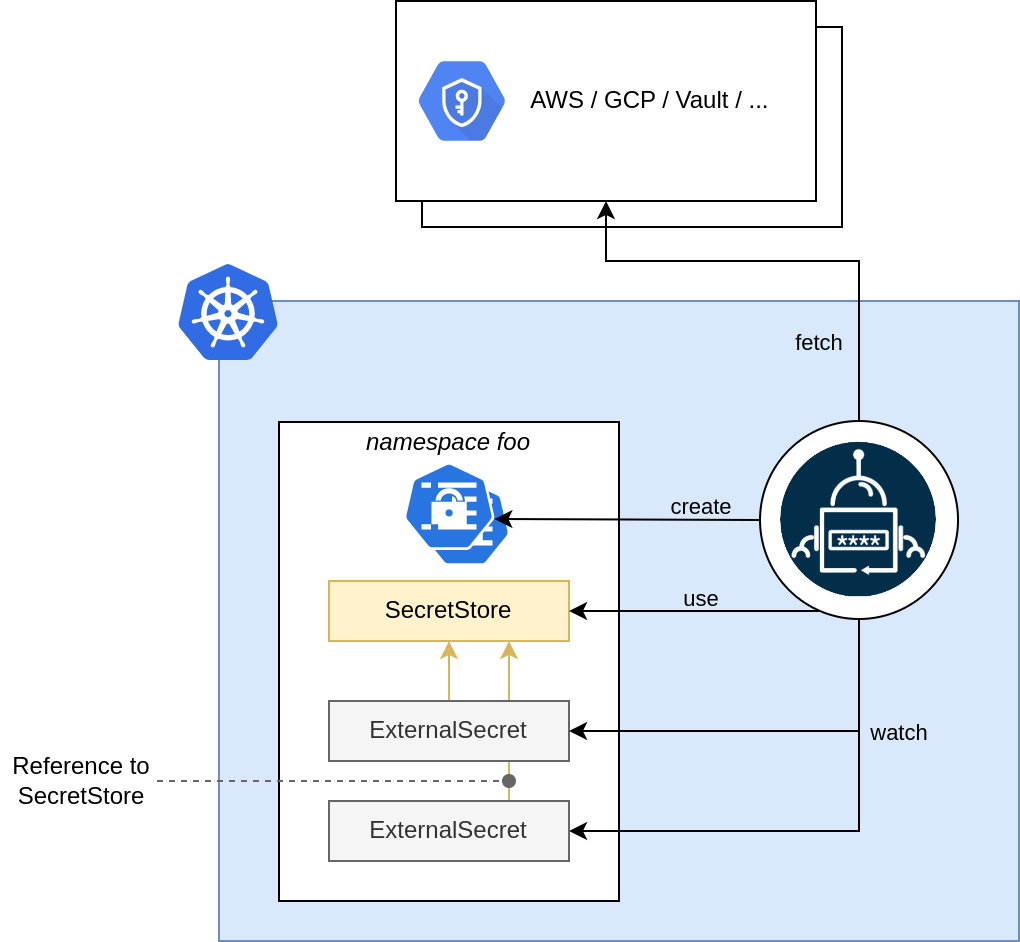
Plus, it can sync secrets across all the namespaces in your Kubernetes cluster (I love this feature ❤️):
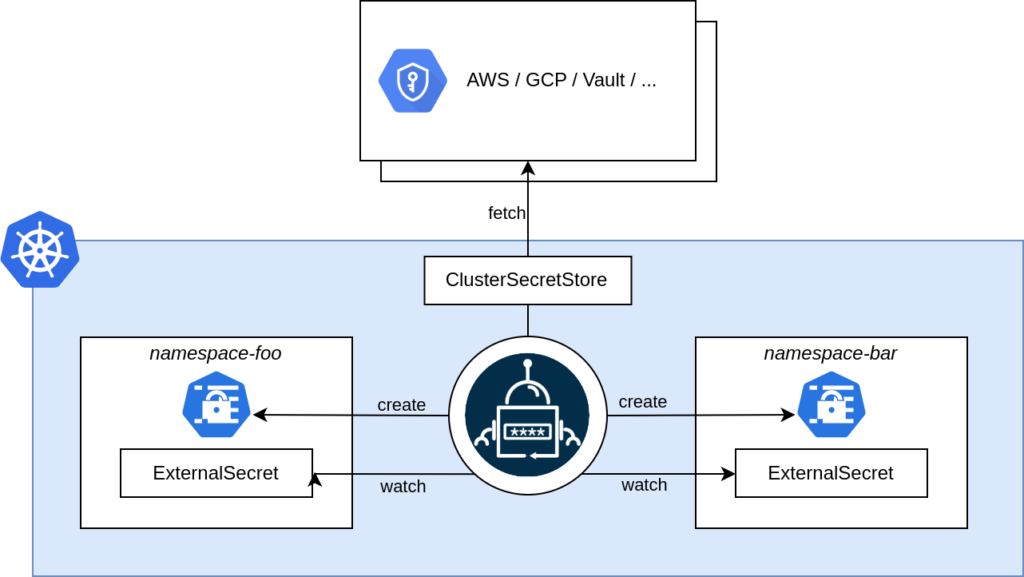
You can use External Secrets with different Providers, including AWS Secrets Manager, HashiCorp Vault, Google Secret Manager. In this blog I’ll show you how to create a secret in the new OVHcloud Secret Manager using Hashicorp Vault.
For more details, read the ESO official documentation.
Let's jump in!
Create an IAM local user
To fetch secrets in Secret Manager, you’ll need an IAM user with the right permissions. You can either set it up or use an existing one.
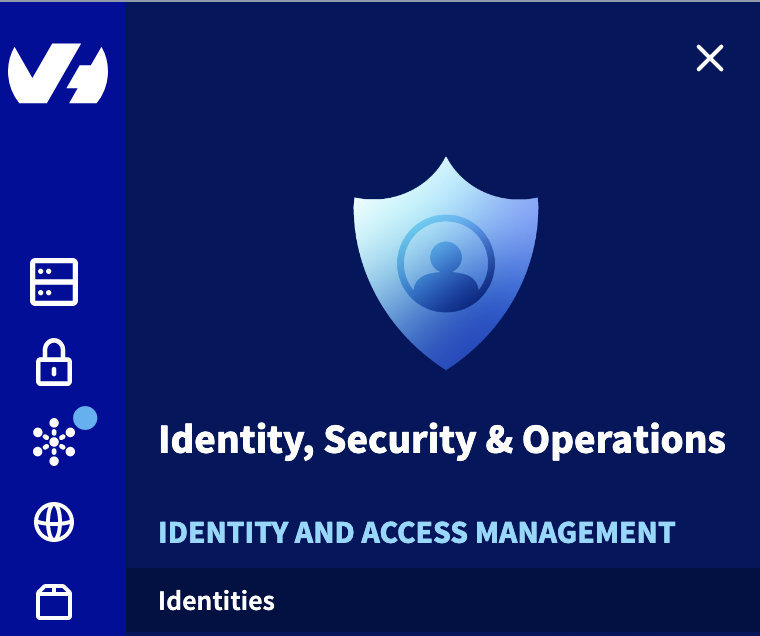
In the OVHcloud Control Panel (UI), go to ‘Identity and Access Management’, then ‘Identities’.
Click the ‘Add user’ button to create an IAM local user and complete the fields as shown below:
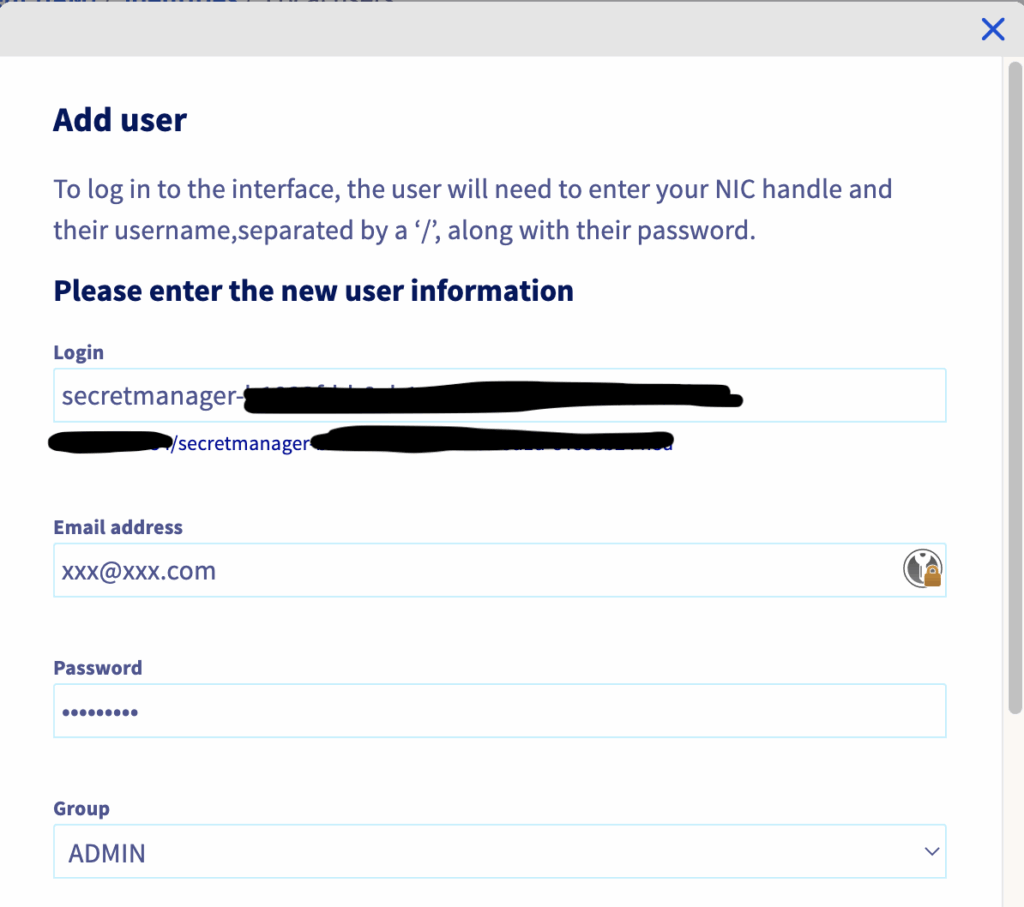
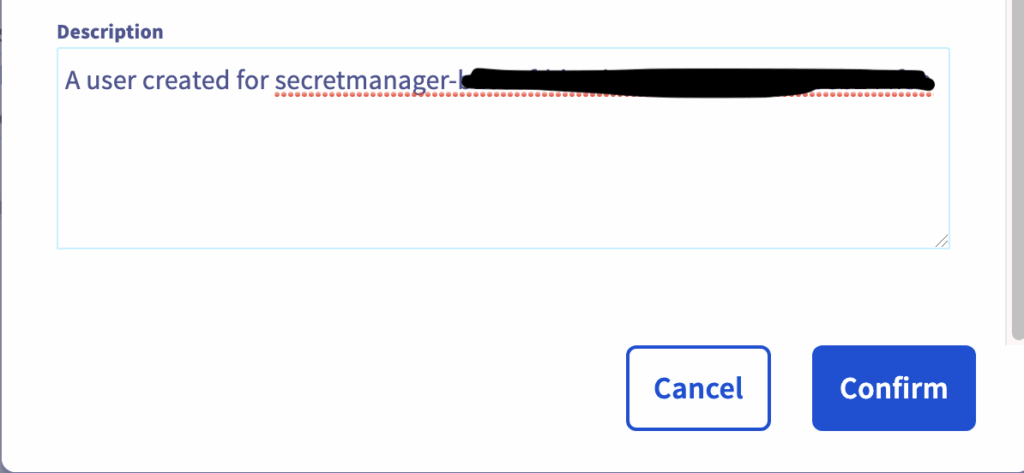
Quick note, I’ve named the user ‘secretmanager-’ followed by the ID of the OKMS domain I want to use.
The user needs to be an ADMIN, or, ideally, have the following policies:
okms:apikms:secret/create
okms:apikms:secret/version/getData
okms:apiovh:secret/get
Get the Personal Access Token (PAT)
The ESO ClusterSecretStore needs the permission to fetch secrets from Secret Manager, so you’ll need a token (PAT).
You can access it via our API, which you’ll find here: https://eu.api.ovh.com/console/?section=%2Fme&branch=v1#post-/me/identity/user/-user-/token
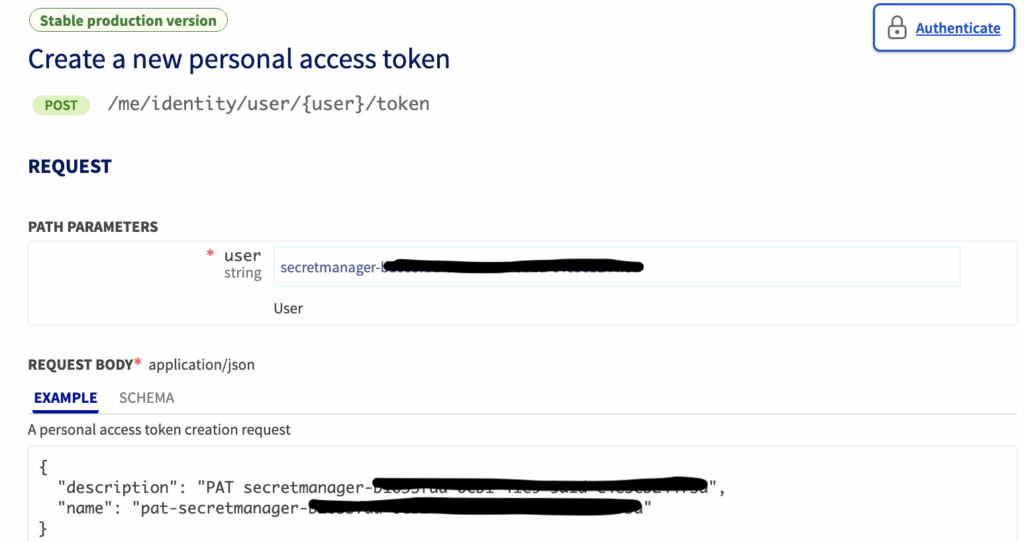
Path parameters
user: secretmanager-xxxxxxxx-xxxx-xxxx-xxxx-xxxxxxxx
Request body:
{
  "description": "PAT secretmanager-xxxxxxxx-xxxx-xxxx-xxxx-xxxxxxxx",
  "name": "pat-secretmanager-xxxxxxxx-xxxx-xxxx-xxxx-xxxxxxxx"
}
You should obtain a response like this:
{
  "creation": "2025-11-07T14:02:56.679157188Z",
  "description": "PAT secretmanager-xxxxxxxx-xxxx-xxxx-xxxx-xxxxxxxx",
  "expiresAt": null,
  "lastUsed": null,
  "name": "pat-secretmanager-xxxxxxxx-xxxx-xxxx-xxxx-xxxxxxxx",
  "token": "eyJhbGciOiJ...punpVAg"
}
Save the token value, because you’ll need it in a bit.
Create a secret in the Secret Manager
Here’s how to create a secret with OVHcloud MPR credentials for use in Kubernetes cluster(s).
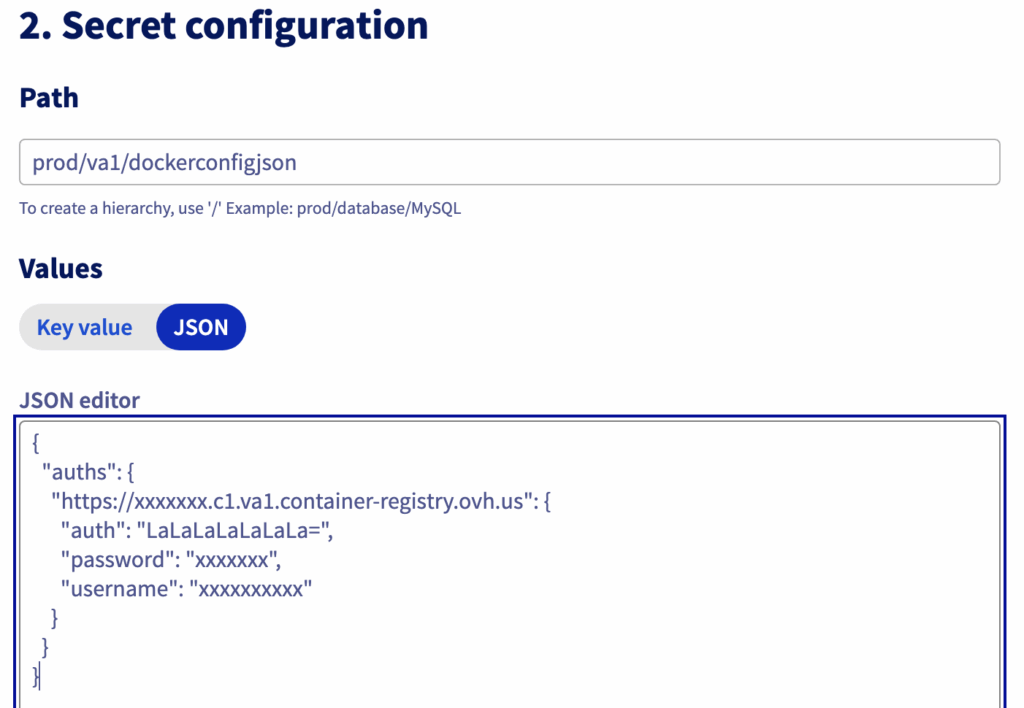
In the OVHcloud Control Panel (UI), go to ‘Secret Manager’, then create a secret ‘prod/va1/dockerconfigjson’ in the Europe region (France – Paris) eu-west-par:
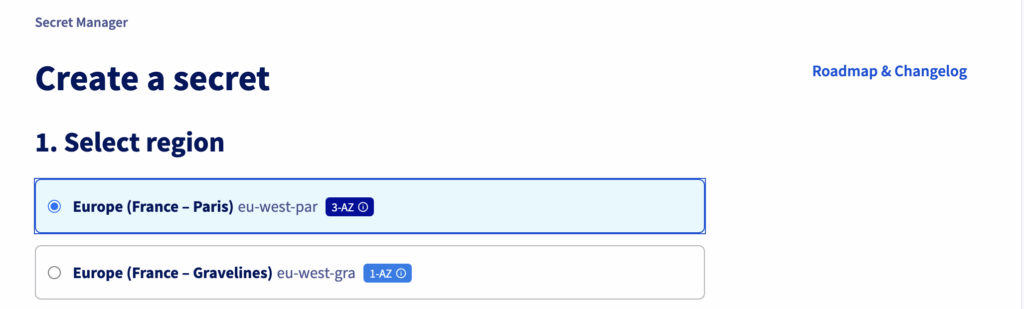
You’ll need to activate the region if you’re selecting it for the first time:
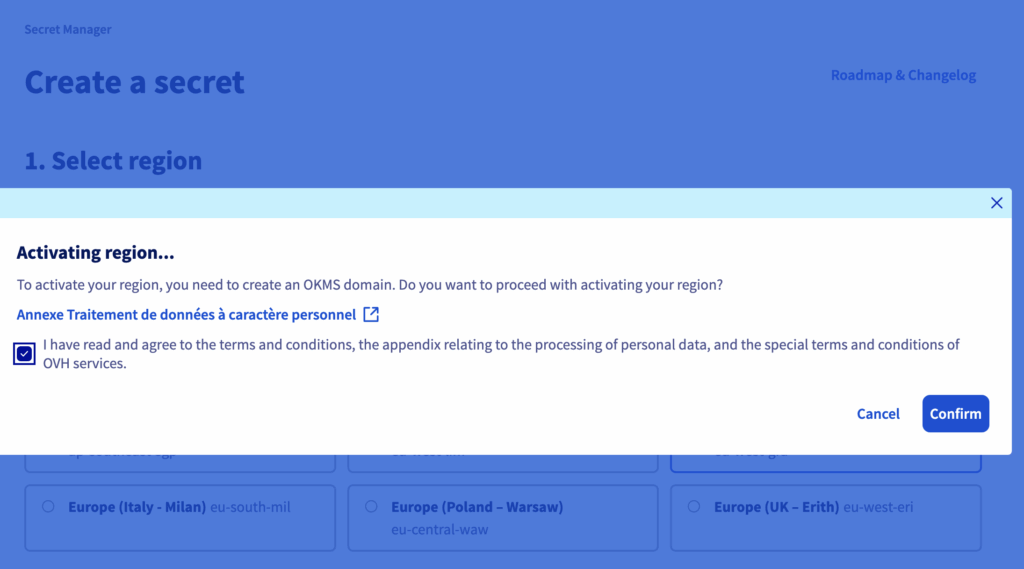
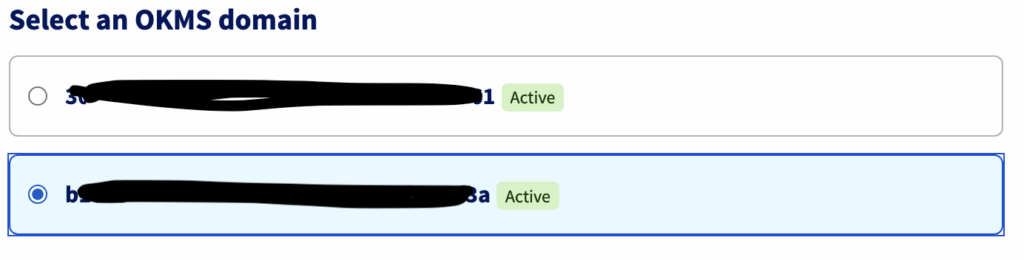
Select an OKMS domain:
Enter the path and value of your secret. For example:
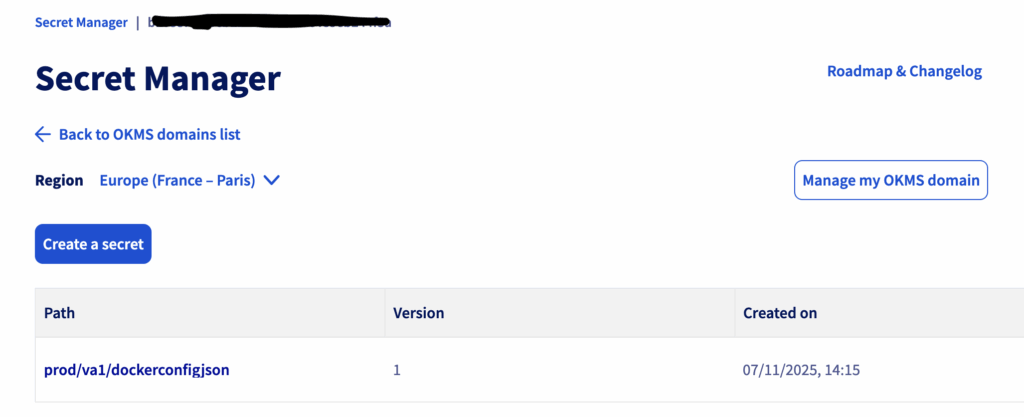
Your secret is all set!
Install External Secrets Operators on your cluster
Deploy external secret through Helm:
helm repo add external-secrets https://charts.external-secrets.io
helm repo update
Install from the chart repository:
helm install external-secrets \
   external-secrets/external-secrets \
    -n external-secrets \
    --create-namespace \
    --set installCRDs=true
Your result should look something like this:
$ helm install external-secrets \
   external-secrets/external-secrets \
    -n external-secrets \
    --create-namespace \
    --set installCRDs=true

NAME: external-secrets
LAST DEPLOYED: Mon Nov 24 17:08:58 2025
NAMESPACE: external-secrets
STATUS: deployed
REVISION: 1
TEST SUITE: None
NOTES:
external-secrets has been deployed successfully in namespace external-secrets!

In order to begin using ExternalSecrets, you will need to set up a SecretStore
or ClusterSecretStore resource (for example, by creating a 'vault' SecretStore).

More information on the different types of SecretStores and how to configure them
can be found in our Github: https://github.com/external-secrets/external-secrets
This command will install the External Secrets Operator in your cluster.
Check ESO is running:
$ kubectl get all -n external-secrets
NAME                                                    READY   STATUS    RESTARTS   AGE
pod/external-secrets-6b9f8ff5d4-jwd6g                   1/1     Running   0          25m
pod/external-secrets-cert-controller-7bf8fd894c-d24xb   1/1     Running   0          25m
pod/external-secrets-webhook-df488ddff-2xv4t            1/1     Running   0          25m

NAME                               TYPE        CLUSTER-IP    EXTERNAL-IP   PORT(S)   AGE
service/external-secrets-webhook   ClusterIP   10.3.106.32   <none>        443/TCP   25m

NAME                                               READY   UP-TO-DATE   AVAILABLE   AGE
deployment.apps/external-secrets                   1/1     1            1           25m
deployment.apps/external-secrets-cert-controller   1/1     1            1           25m
deployment.apps/external-secrets-webhook           1/1     1            1           25m

NAME                                                          DESIRED   CURRENT   READY   AGE
replicaset.apps/external-secrets-6b9f8ff5d4                   1         1         1       25m
replicaset.apps/external-secrets-cert-controller-7bf8fd894c   1         1         1       25m
replicaset.apps/external-secrets-webhook-df488ddff            1         1         1       25m
Create a Secret contains the PAT
Encode the PAT in base64:
$ echo -n "<token>" | base64

ZXlKaG...wVkFn
Create a secret with it inside a secret.yaml file:
apiVersion: v1
kind: Secret
metadata:
  name: ovhcloud-vault-token
  namespace: external-secrets
data:
  token: ZXlKaG...wVkFn
Apply the resource in your cluster:
kubectl apply -f secret.yamlCheck that the secret have been created:
$ kubectl get secret ovhcloud-vault-token -n external-secrets
NAME                   TYPE     DATA   AGE
ovhcloud-vault-token   Opaque   1      5m
Deploy a ClusterSecretStore to connect ESO to Secret Manager
Set up a ClusterSecretStore to manage synchronisation with Secret Manager.
It will use the HashiCorp Vault provider with token auth, and the OKMS endpoint as the backend.
Create a clustersecretstore.yaml file with the content below:
apiVersion: external-secrets.io/v1
kind: ClusterSecretStore
metadata:
  name: vault-secret-store
spec:
  provider:
      vault:
        server: "https://eu-west-par.okms.ovh.net/api/xxxxxxxx-xxxx-xxxx-xxxx-xxxxxxxxxxxx" # OKMS endpoint, fill with the correct region and your okms_id
        path: "secret"
        version: "v2"
        auth:
            tokenSecretRef:
              name: ovhcloud-vault-token # The k8s secret that contain your PAT
              key: token
Keep in mind, in our example, we’ve selected the “eu-west-par” region. You can enter a different server URL, depending on your desired region.
Apply it:
kubectl apply -f clustersecretstore.yamlCheck:
$ kubectl get clustersecretstore.external-secrets.io/vault-secret-store
NAME                 AGE   STATUS   CAPABILITIES   READY
vault-secret-store   2m   Valid    ReadWrite      True
Create an ExternalSecret
Create an externalsecret.yaml file with the content below:
apiVersion: external-secrets.io/v1
kind: ExternalSecret
metadata:
  name: docker-config-secret
  namespace: external-secrets
spec:
  refreshInterval: 30m
  secretStoreRef:
    name: vault-secret-store
    kind: ClusterSecretStore
  target:
    template:
      type: kubernetes.io/dockerconfigjson
      data:
        .dockerconfigjson: "{{ .mysecret | toString }}"
    name: ovhregistrycred
    creationPolicy: Owner
  data:
  - secretKey: mysecret
    remoteRef:
      key: prod/va1/dockerconfigjson
Apply it:
$ kubectl apply -f externalsecret.yaml
externalsecret.external-secrets.io/docker-config-secret created
Check:
$ kubectl get externalsecret.external-secrets.io/docker-config-secret -n external-secrets
NAME                   STORETYPE            STORE                REFRESH INTERVAL   STATUS         READY
docker-config-secret   ClusterSecretStore   vault-secret-store   30m0s              SecretSynced   True
After applying this command, it will create a Kubernetes Secret object.
$ kubectl get secret -n external-secrets
NAME                                     TYPE                             DATA   AGE
...
ovhregistrycred                          kubernetes.io/dockerconfigjson   1      17d
...
As you can see, the Secret is ready, and you can now use it as an imagePullSecret in your Pods!
Conclusion
In this blog, we’ve explained how to create secrets in the new OVHcloud Secret Manager and integrate them directly in your Kubernetes clusters using the ESO Vault provider.
And here’s some great news: our teams are working on an OVHcloud External Secret Operator, set to go live in the coming months, which you can use 🎉.
Stay tuned and share your thoughts!