

Before an application go to production, it passes through several stages: source code, build, packaging and distribution. But Malicious code – such as a compromised dependency, breached CI pipeline, or modified package in a registry – can be introduced at any point in the development cycle, potentially impacting thousands of projects
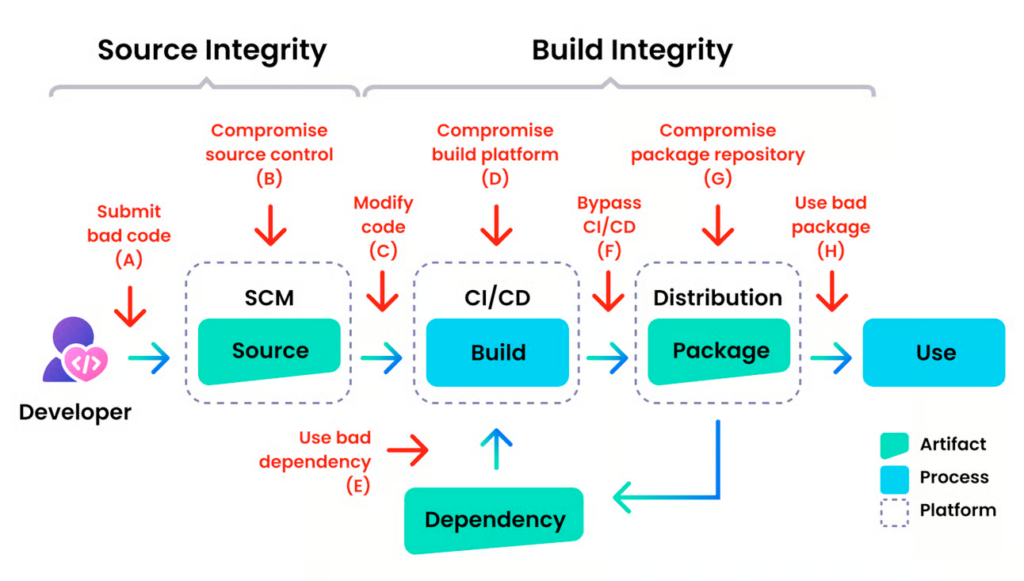
This is precisely where Software Supply Chain Security (SSCS) comes in: to protect not just the code itself, but also how it’s built, delivered, and utilised.
Attacks like SolarWinds and Log4Shell aren’t isolated incidents, but rather subtle indicators that have escalated in severity.

This blog post explores recommended solutions and best practices for OVHcloud Managed Private Registry (MPR), an OCI-compliant artifact registry, to help you enhance your Software Supply Chain Security.
Generate a Software Bill Of Materials (SBOM)
SBOMs provides a list of all the ingredients (OS, libraries, code) and anything that composes the images that will run on your Kubernetes cluster.
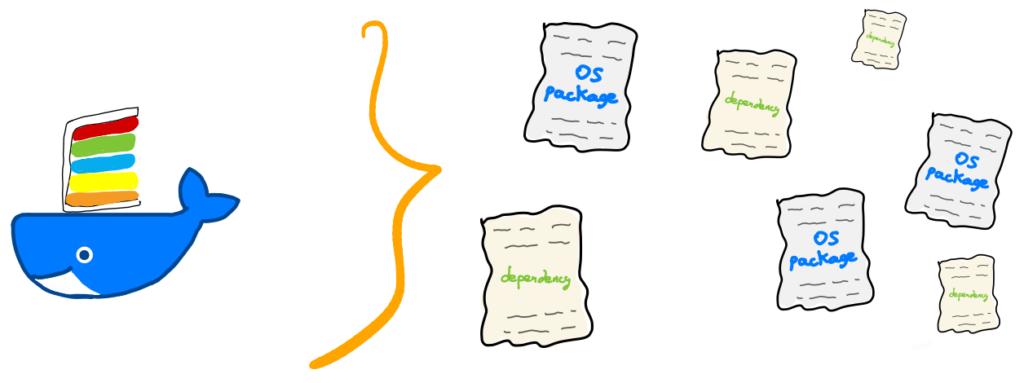
From that list, you can find out more about the image, its vulnerabilities, and licenses.
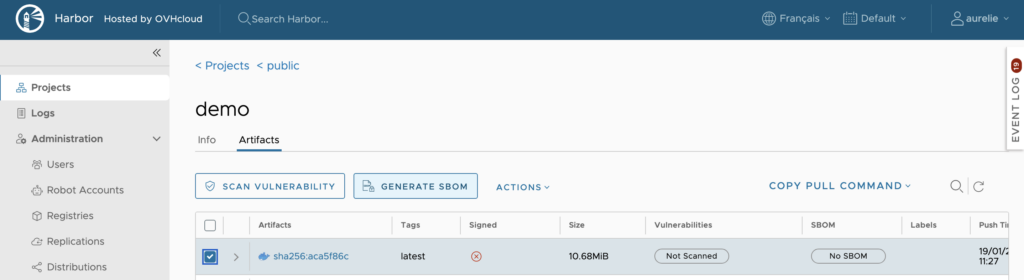
Generate an SBOM manually
To manually generate an SBOM from your image, click the ‘GENERATE SBOM’ button:
Within seconds, the SBOM column for your image will display “Queued”, then change to “Generating”, and a “SBOM details” link will appear.
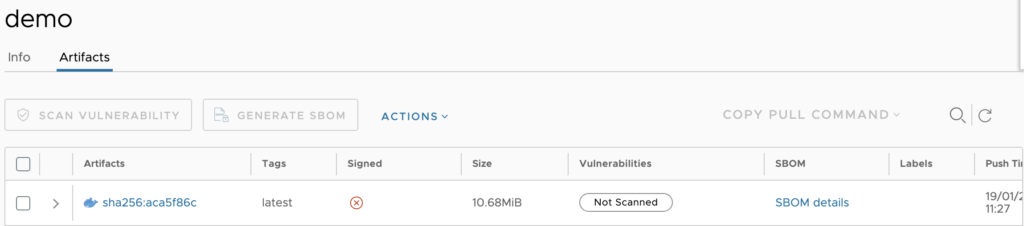
Click the ‘SBOM details’ link to view the SBOM:
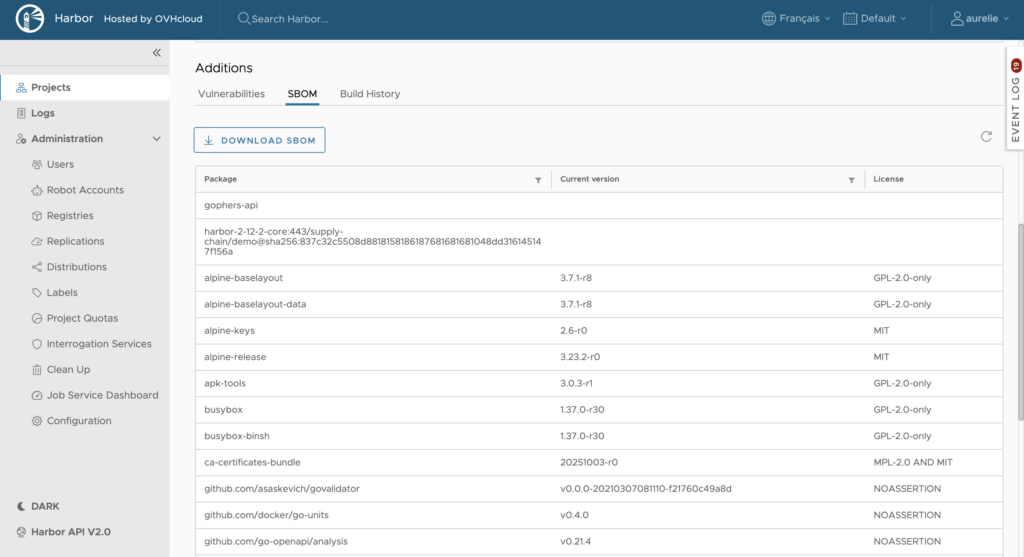
Your application’s SBOM is generated by Trivy in SPDX format. This item is then listed as an accessory for your image in the registry.

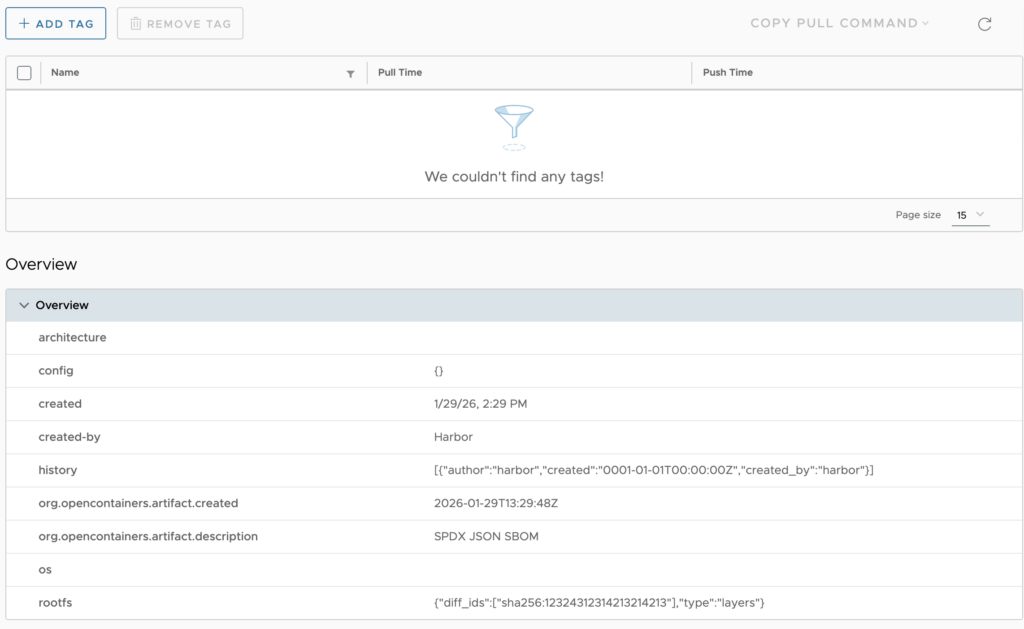
Click the ‘sbom.harbor’ accessory type for more details:
Generate an SBOM automatically
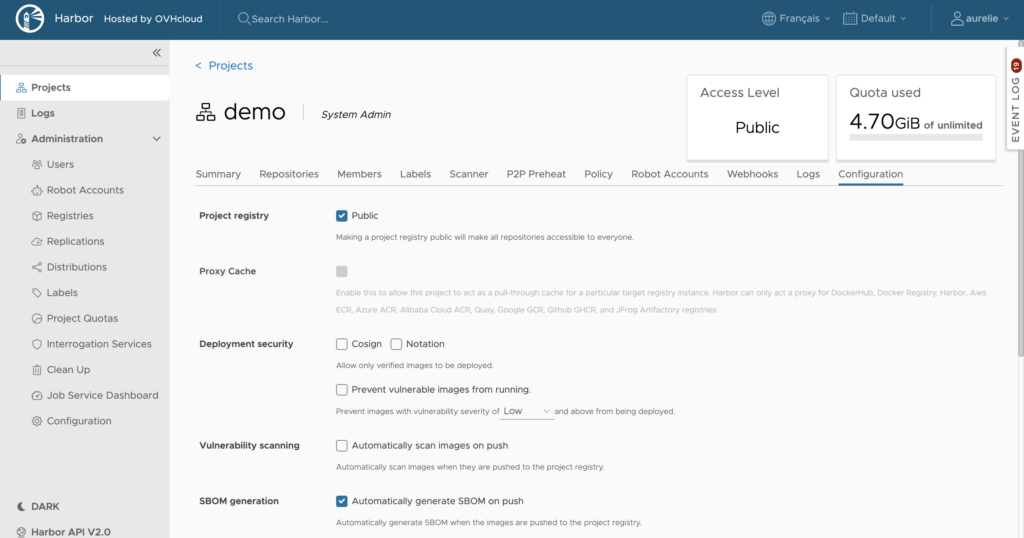
Manually generating an SBOM is a good practice, but automating the process is even better. The private registry can automatically generates the SBOM for you once an image is pushed to the desired project.
Click the project your image is part of, navigate to the ‘Configuration’ tab, then tick the SBOM generation checkbox:
Vulnerabilities scanning
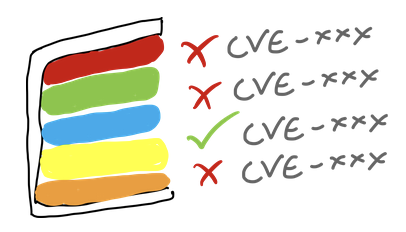
We recommend running vulnerability scans on the images to confirm that:
- the images provided are free of any known vulnerabilities (CVEs);
- security patches are well integrated before deployment;
- the images used in production comply with security and compliance policies.
There are several vulnerability scanners available, like Trivy, Docker Scout, and Grype.
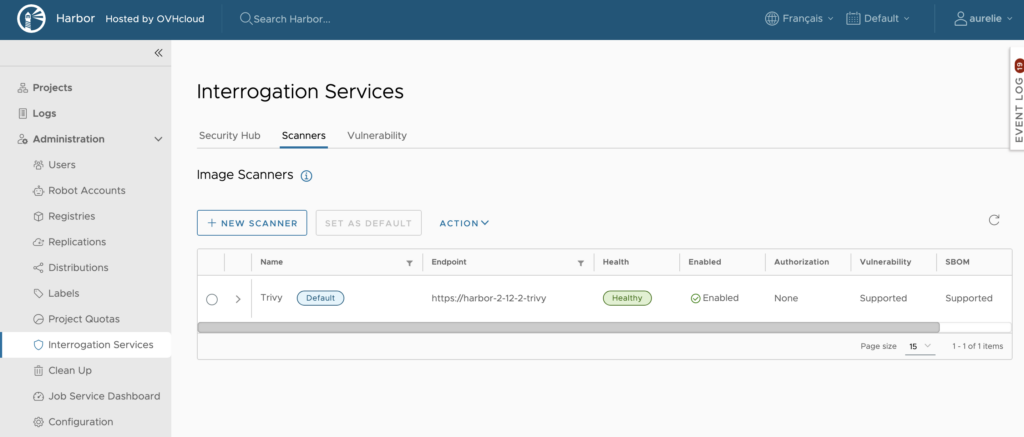
The OVHcloud Managed Private Registry uses Trivy as its default vulnerability scanner, but you can add more scanners if needed. Go to the Administration panel, click ‘Interrogation Services’, then navigate to the ‘Scanners’ tab:
Scan your image manually
To manually run a vulnerability scan on your image, go to your project and click the SCAN VULNERABILITIES button:

Within a few seconds, a scan will run and reveal any vulnerabilities detected in your image.
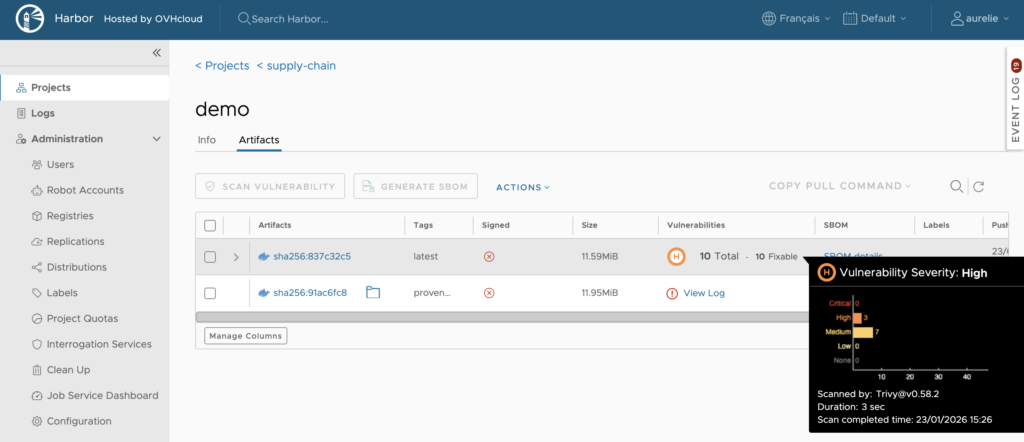
Click your image to take a look at the CVEs list:
Scan your image automatically
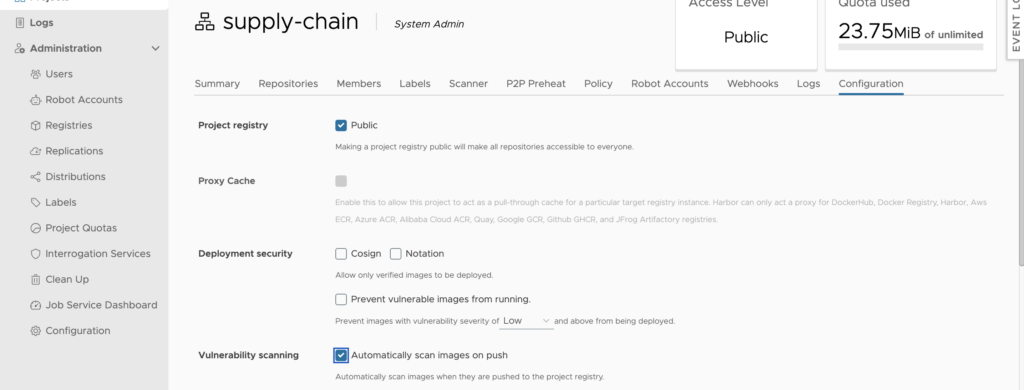
To automatically scan images on push, click the project your image is part of, then the ‘Configuration’ tab, and tick the ‘Vulnerabilities scanning’ checkbox:
Schedule vulnerability scans
Another way to stay informed is by configuring your vulnerability scanner to run scans every day. Go in the Administration panel, click ‘Interrogation Services’, then the ‘Vulnerability’ tab:
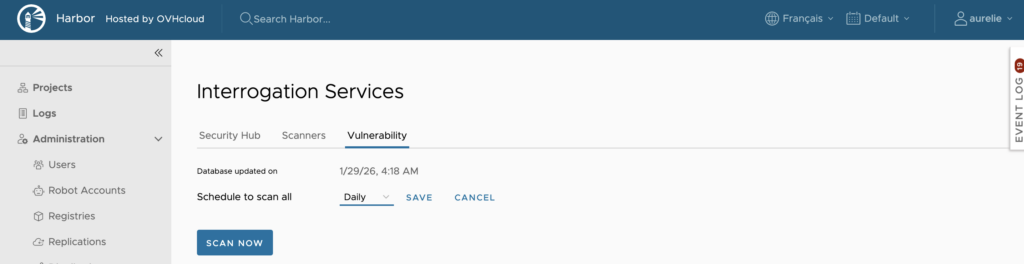
You can choose to schedule the scan Hourly, Daily, Weekly or you can customize when the scan will be triggered.
Scheduled scans ensure that existing images are regularly/periodically analyzed for newly discovered vulnerabilities (CVEs).
Prevent vulnerable images from running
You can also configure a project to prevent vulnerable images from being pulled. In order to do that, check the Prevent vulnerable images from running checkbox.
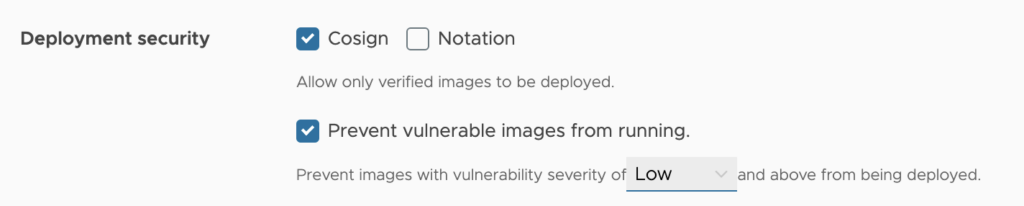
Select the severity level of vulnerabilities to prevent images from running, from None to Critical.
With this configuration, images cannot be pulled if their level is equal to or higher than the selected level of severity.
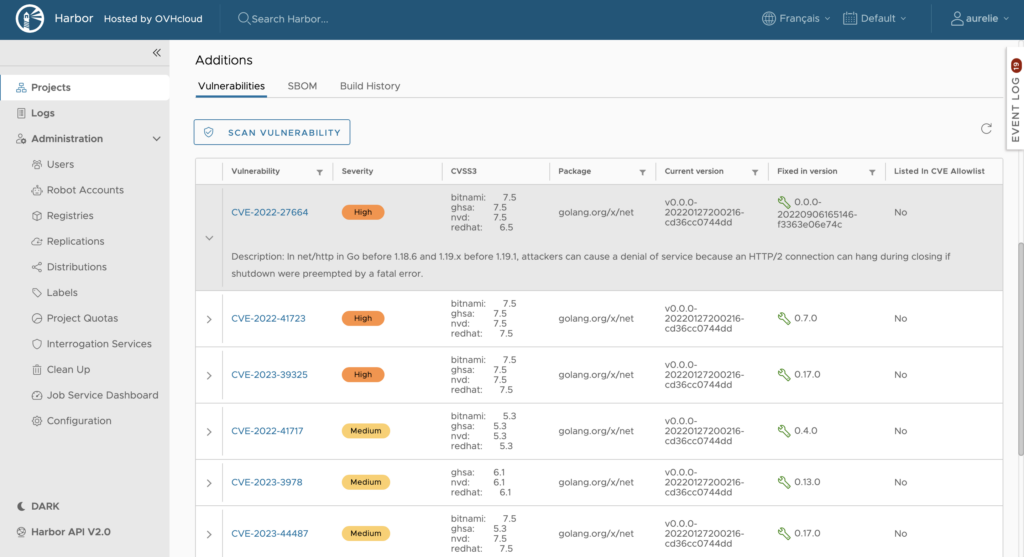
Exploitable vulnerabilities
When a scanner found vulnerabilities for your images, it is not necessary that they are exploitable in your application/in your image.

In this example, my application is build with golang 1.25-alpine, but Trivy found several CVEs that are only exploitable in golang 1.19.1 or less.
In order to remove/skip the “false positive”, a solution exists.
VEX (Vulnerability Exploitability eXchange) is a standard “format” to state whether a vulnerability is exploitable or not in a specific context.
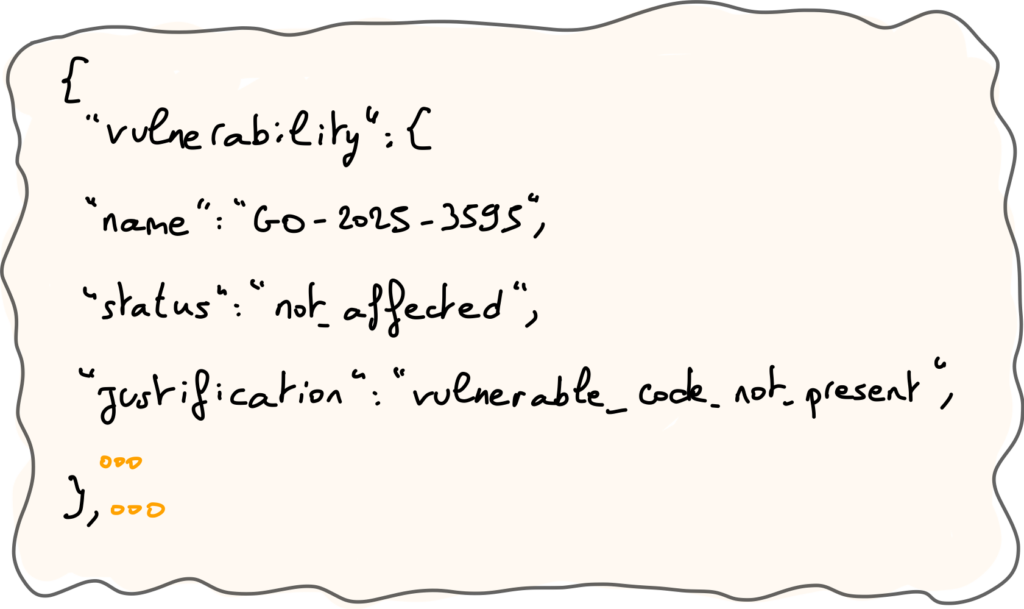
You can generate a VEX file with vexctl or govulncheck tools.
Example:
# With vexctl
$ VULN_ID="CVE-2022-27664"
$ PRODUCT="pkg:golang/golang.org/x/net@v0.0.0-20220127200216-cd36cc0744dd"
$ vexctl create --file vex.json --author 'Aurélie Vache' --product "pkg:oci/demo@sha256:$HASH?repository_url=$REGISTRY/$HARBOR_PROJECT/demo" --vuln "$VULN_ID" --status 'not_affected' --justification 'vulnerable_code_not_present' --impact-statement "HTTP/2 vulnerability $VULN_ID is not exploitable because the image is compiled with Go 1.20, which contains the patched library."

# With govulncheck (for Go apps)
$ govulncheck -format openvex ./... > ../demo.vex.json
For the moment, OVHcloud MPR (managed Harbor) does not support VEX files (and the OpenVEX format) but it is planned in the future.
💡But the good news is that you can configure a CVEs whitelist with the list of not exploitable CVEs to ignore them during vulnerability scanning:
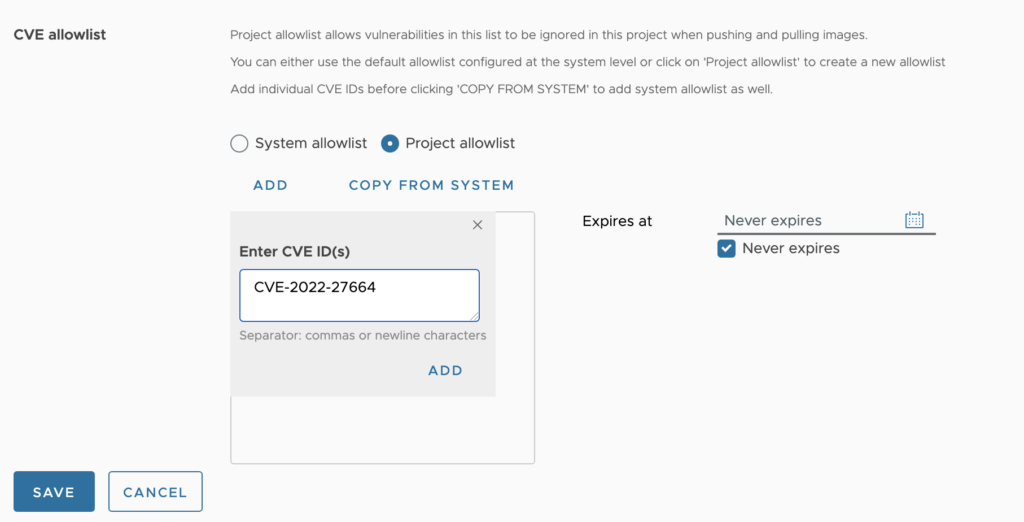
You can optionally uncheck the Never expires checkbox and use the calendar selector to set an expiry date for the allowlist.
Sign your images
It’s recommended to sign your images to ensure they haven’t been modified and originate from your pipeline (CI/CD).
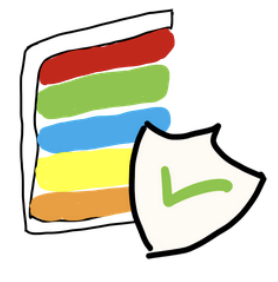
Signing your images is crucial for protecting them against compromised registries and unauthorised image replacements.
Without a signature, there’s no guarantee the deployed image is the one you originally built!
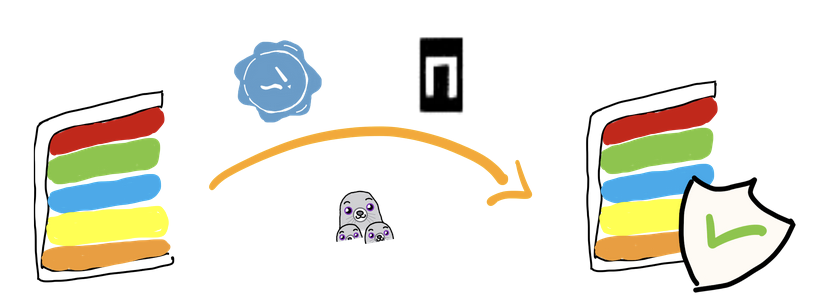
You can sign your images with Sigstore Cosign or Notation tools:
$ export HARBOR_PROJECT=supply-chain
$ export IMAGE=xxxxxx.c1.de1.container-registry.ovh.net/$HARBOR_PROJECT/demo
$ export HASH=$(skopeo inspect docker://${IMAGE}:latest | jq -r .Digest | sed "s/^sha256://")

# Sign with Cosign
## Generate a private and a public key
$ cosign generate-key-pair
## Sign the image with the OCI 1.1 Referrers API
$ cosign sign -y --key cosign.key $IMAGE@sha256:$HASH

# Sign with Notation
## Generate a RSA key & a self-signed X.509 test certificate
$ notation cert generate-test --default "test"

## Sign the image with the OCI 1.1 Refferrers API
$ export NOTATION_EXPERIMENTAL=1 ; notation sign -d --allow-referrers-api ${IMAGE}@sha256:${HASH}
You can use Cosign or Notation to sign your images, OVHcloud MPR supports both.
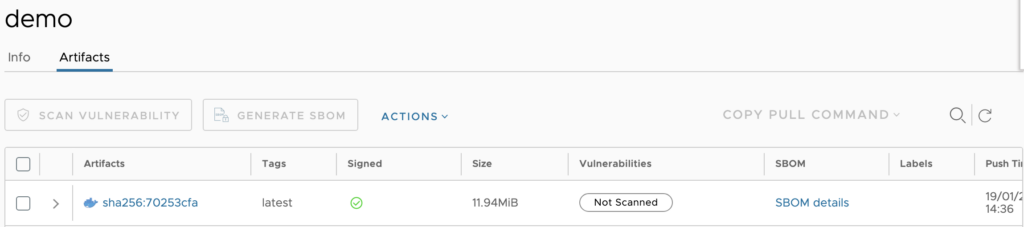
Your signature will appear beside your image as an accessory, plus a green checkmark ✅ in your column:
⚠️ Keep in mind, MPR (Harbor) doesn’t support signatures generated by Cosign v3 (the signature will upload and appear as an accessory, but the mark will stay red instead of turning green). This bug should be fixed in Harbor 2.15 💪.
Signing your OCI artifacts and linking them to your images is recommended, and you can do this using Cosign:
$ cosign attest -y --predicate sbom.spdx.json --key cosign.key $IMAGE@sha256:$HASHThey will be uploaded to the OVHcloud private registry and listed as accessories.
Ensure only verified images are pushed to your registry’s projects
To allow only verified/signed images to be deployed on a project, click the project your image is part of, navigate to the ‘Configuration’ tab, and tick the Cosign and/or Notation checkbox:

When checked, the registry will only allow verified images to be pulled from the project. Verified images are determined by Cosign or Notation, depending on the policy you have checked. Note that if you have both Cosign and Notation policies enforced, then images will need to be signed by both Cosign and Notation to be pulled.
Tag immutability
By default, tags are mutables, it means that you can push an image demo with the tag 1.0.0, do a modification in the code and push again to this same tag.
It could be useful to fix a bug but in term of security a mutable tag does not guarantee that the image you’ve built and pushed for the 1.0.0 version is the same image that exists now in the registry.
Moreover, on Harbor (so on OVHcloud MPR), due to limitations in the upstream OCI Distribution specification, the registry does not enforce a strict link between a tag and an image digest.
As a result, a tag can be reassigned to a different artifact. And it causes a side effect on the registry, this causes the tag to migrate across the artifacts and every artifact that has its tag taken away becomes tagless.
To prevent this situation, you can configure tag immutability rules. Tag immutability guarantees that an immutable tagged artifact cannot be deleted, and also cannot be altered in any way such as through re-pushing, re-tagging, or replication from another target registry.
To do that, click on your project and on the Policy tab and select TAG IMMUTABILITY:
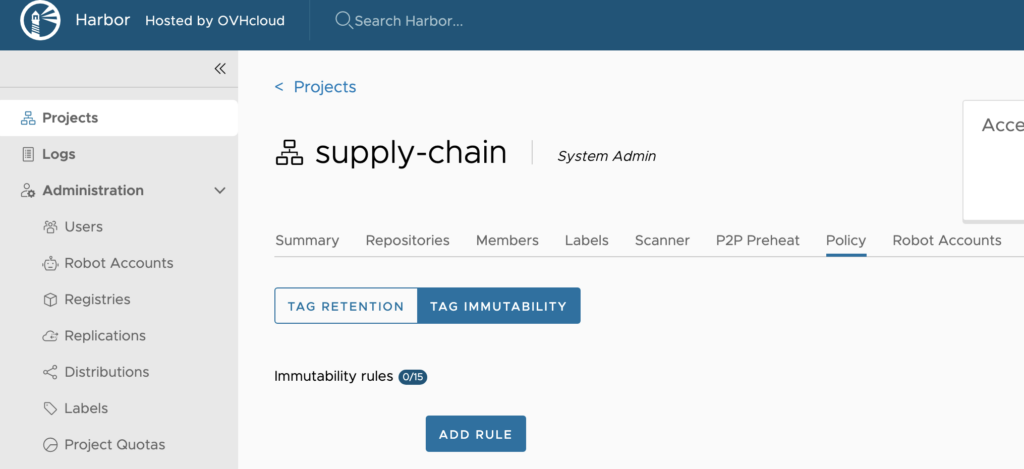
And then click the ADD RULE button.
Fill the repositories and tags list according to your needs.
Example:
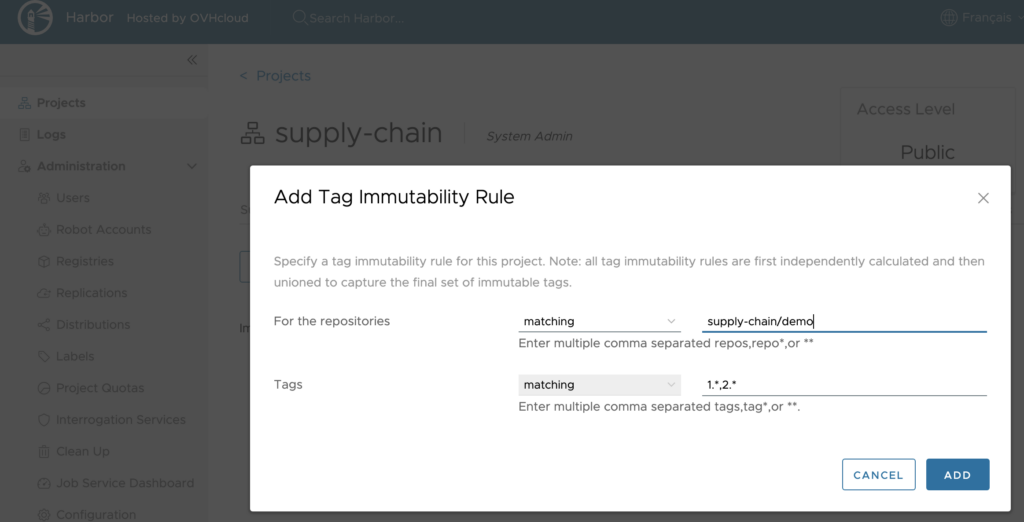
⚠️ You can add a maximum of 15 immutability rules per project.
To wrap thing up
Software supply chain security is super important these days. Everything is changing quickly – the concept, standards, and tools. So, leveraging useful tools like OVHcloud MPR and knowing how to set them up can boost your Software Supply Chain Security efforts.
To learn more about how to use and configure OVHcloud private registries, don’t hesitate to follow our guides.
Developer Advocate at OVHcloud, specialized in Cloud Native, Infrastructure as Code (IaC) & Developer eXperience (DX).
She is recognized as a Docker Captain, CNCF ambassador, GDE & Women techmakers Ambassador.
She has been working as a Developer and Ops for over 20 years. Cloud enthusiast and advocates DevOps/Cloud/Golang best practices.
Technical writer, a sketchnoter and a speaker at international conferences.
Book author, she created a new visual way for people to learn and understand Cloud technologies: "Understanding Kubernetes / Docker / Istio in a visual way" in sketchnotes, books and videos.