
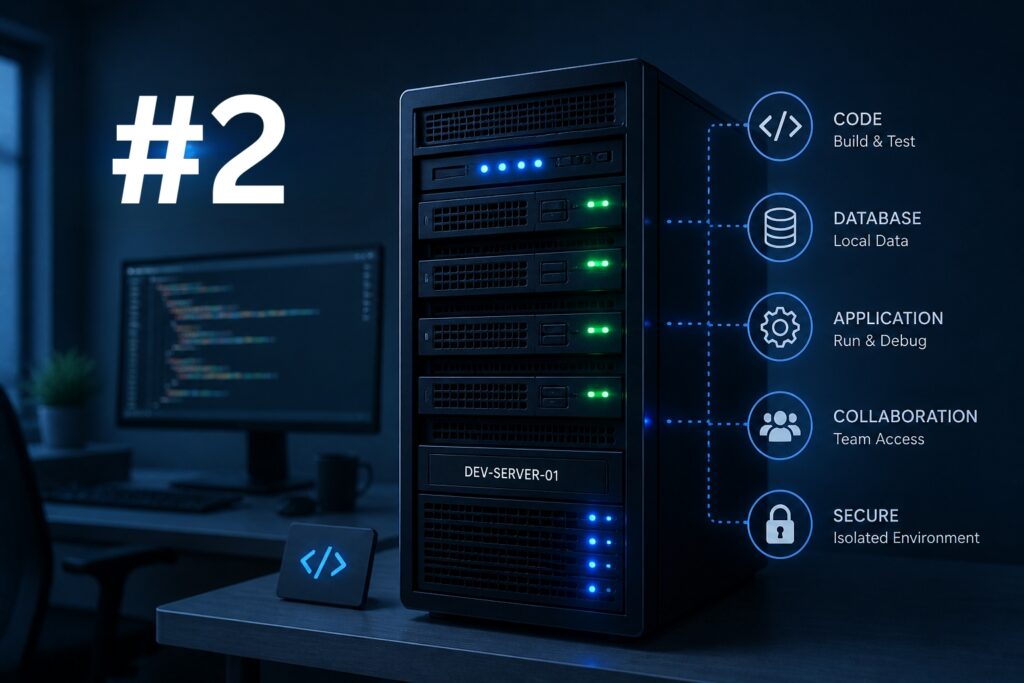
In the previous chapter, we started the VSCode Server on a remote instance.
That’s a win. However, as it stands, your installation is vulnerable, or at least not optimally secured. Traffic is being sent in clear (HTTP) and port 8080 is exposed to anyone scanning our IP address.
To transform this prototype into a daily working tool, we need to set up a Reverse Proxy.
Its role is simple: to intercept secure connections (HTTPS) on the standard port 443 and redirect them locally to our service.
1. Prerequisites: securing the network part
First and foremost, we need to instruct code-server to no longer listen for connections from outside, but only to those coming from the machine itself (the proxy).
Modify your configuration file: nano ~/.config/code-server/config.yaml
Change the line “bind-addr” as follows:
bind-addr: 127.0.0.1:8080
Then restart the service.
ubuntu@vscode-server:~$ sudo systemctl restart code-server@$USER |
This will ensure that vscode-server will indeed only “listen” locally and cannot be contacted directly from outside.
2. Implement the reverse proxy
Here, you have two choices:
- NGINX, which has been the standard choice for many years
- Caddy, which has a more simplistic (but comprehensive) and newer approach.
For this blog post, we have selected Caddy for the example and to familiarise ourselves if we have not already!
Caddy natively manages SSL certificate renewal – which can be done through OVHcloud!
Installation (Debian/Ubuntu)
You will find more comprehensive documentation for other systems or installation methods in the official documentation: https://caddyserver.com/docs/install.
ubuntu@vscode-server:~$ sudo apt install -y debian-keyring debian-archive-keyring apt-transport-httpsubuntu@vscode-server:~$ curl -1sLf ‘https://dl.cloudsmith.io/public/caddy/stable/gpg.key’| sudo gpg --dearmor -o /usr/share/keyrings/caddy-stable-archive-keyring.gpgubuntu@vscode-server:~$ curl -1sLf ‘https://dl.cloudsmith.io/public/caddy/stable/debian.deb.txt’| sudo tee /etc/apt/sources.list.d/caddy-stable.listubuntu@vscode-server:~$ sudo apt update && sudo apt install caddy -y |
Configuration: modify the file /etc/caddy/Caddyfile (clear it and replace it with this):
Replace “dev.your-domain.uk” with your own domain name, with the subdomain of your choice pointing to the IP of the instance.
- Simple configuration only on HTTP port (80)
| dev.your-domain.uk { reverse_proxy 127.0.0.1:8080 } |
- Recommended configuration on HTTPS port (443), using a domain hosted with OVHcloud.
For creating OVHcloud API tokens, you can refer to this page: https://eu.api.ovh.com/createToken/.
dev.your-domain.uk {tls { dns ovh { endpoint “ovh-eu” application_key {$OVH_APPLICATION_KEY} application_secret {$OVH_APPLICATION_SECRET} consumer_key {$OVH_CONSUMER_KEY} } } reverse_proxy 127.0.0.1:8080} |
For further details regarding SSL certificate management, consult the official Caddy documentation.
Application:
ubuntu@vscode-server:~$ sudo systemctl reload caddy |
If you have opted for the recommended configuration in HTTPS, your environment is now protected by robust SSL encryption.
You are no longer at risk of having your password intercepted on public Wi-Fi, which is a considerable step towards our goal.
3. Network and firewall
Now that the access point is unique via the HTTPS URL configured just above, the rest of the ports, except for SSH, can be closed.
Now, implement the basic rules in the firewall. On Ubuntu, the standard tool is UFW (Uncomplicated Firewall).
Start by opening the ports related to the functional services.
ubuntu@vscode-server:~$ sudo ufw allow ssh |
Activate the firewall:
ubuntu@vscode-server:~$ sudo ufw enable |
Check the implementation of the rules.
ubuntu@vscode-server:~$ sudo ufw statusTo Action From |
You can also add stricter rules to explicitly reject anything unauthorised in incoming traffic while generally authorising outgoing traffic.
ubuntu@vscode-server:~$ sudo ufw default deny incoming |
From now on, if someone attempts to access the IP on port 8080, the connection will be outright rejected.
Only the domain name in HTTPS is the legitimate entry point.
This handy little development server now feels more like a fortress.
But what happens if you decide to delete this instance to move to a more powerful one and/or stop it for an indefinite period, as your project is on hold?
This is what you will find out in the next part: how to isolate your data and configurations on a persistent storage volume to make your environment completely interchangeable, but also how to automate the deploymen of this development environment!
The ultimate goal is for a simple terraform apply command to to be enough to generate a development environment that’s ready to use in under two minutes.